새로운 프로젝트를 진행한다.
프로젝트는 블로그를 만드는 것!
강의를 듣기 전에 내가 할 수 있는 데 까지 해보는 걸로 ..
1. URLs & Views

path는 3개를 설정한다.
/
# urls.py
from django.urls import path

from . import views

urlpatterns = [
    # path("", views.index, name="index"),
    # path("<posts>", views.all_posts, name="blog-post")
    path(""),
    path("posts"),
    path("posts/<slug:slug>") # dynamic segment (angle bracket), parameter name -> /posts/my-first-post
]

# Q. 장고에서 slug이 무엇인가요?
🔹 slug란?
Slug는 일반적으로 블로그 글 제목에서 생성된 짧고 설명적인 문자열
URL에서 특정 객체를 식별하기 위해 사용되며, 영어 소문자와 숫자, 하이픈(-)으로 구성
Django에서는 models.SlugField를 사용하여 모델에서 slug를 정의합니다.
# urls.py

from django.urls import path

from . import views

urlpatterns = [
    # path("", views.index, name="index"),
    # path("<posts>", views.all_posts, name="blog-post")
    path("", views.starting_point, name="starting-page"),
    path("posts", views.posts, name="posts-page"),
    path("posts/<slug:slug>", views.post_detail,
         name="post-detail-page") # dynamic segment (angle bracket), parameter name -> /posts/my-first-post
]

# Q. 장고에서 slug이 무엇인가요?- 3개의 path에 name을 지정 - 어떤 url로 가는지를 확실하게 하기 위함.

- my_site에도 url의 path를 지정
"""
URL configuration for my_site project.

The `urlpatterns` list routes URLs to views. For more information please see:
    https://docs.djangoproject.com/en/5.2/topics/http/urls/
Examples:
Function views
    1. Add an import:  from my_app import views
    2. Add a URL to urlpatterns:  path('', views.home, name='home')
Class-based views
    1. Add an import:  from other_app.views import Home
    2. Add a URL to urlpatterns:  path('', Home.as_view(), name='home')
Including another URLconf
    1. Import the include() function: from django.urls import include, path
    2. Add a URL to urlpatterns:  path('blog/', include('blog.urls'))
"""
from django.contrib import admin
from django.urls import path, include

urlpatterns = [
    path('admin/', admin.site.urls),
    path("", include("blog.urls")) # http://localhost8000/
]- 아무것도 입력하지 않았을 때 초기 페이지로 가야 함.
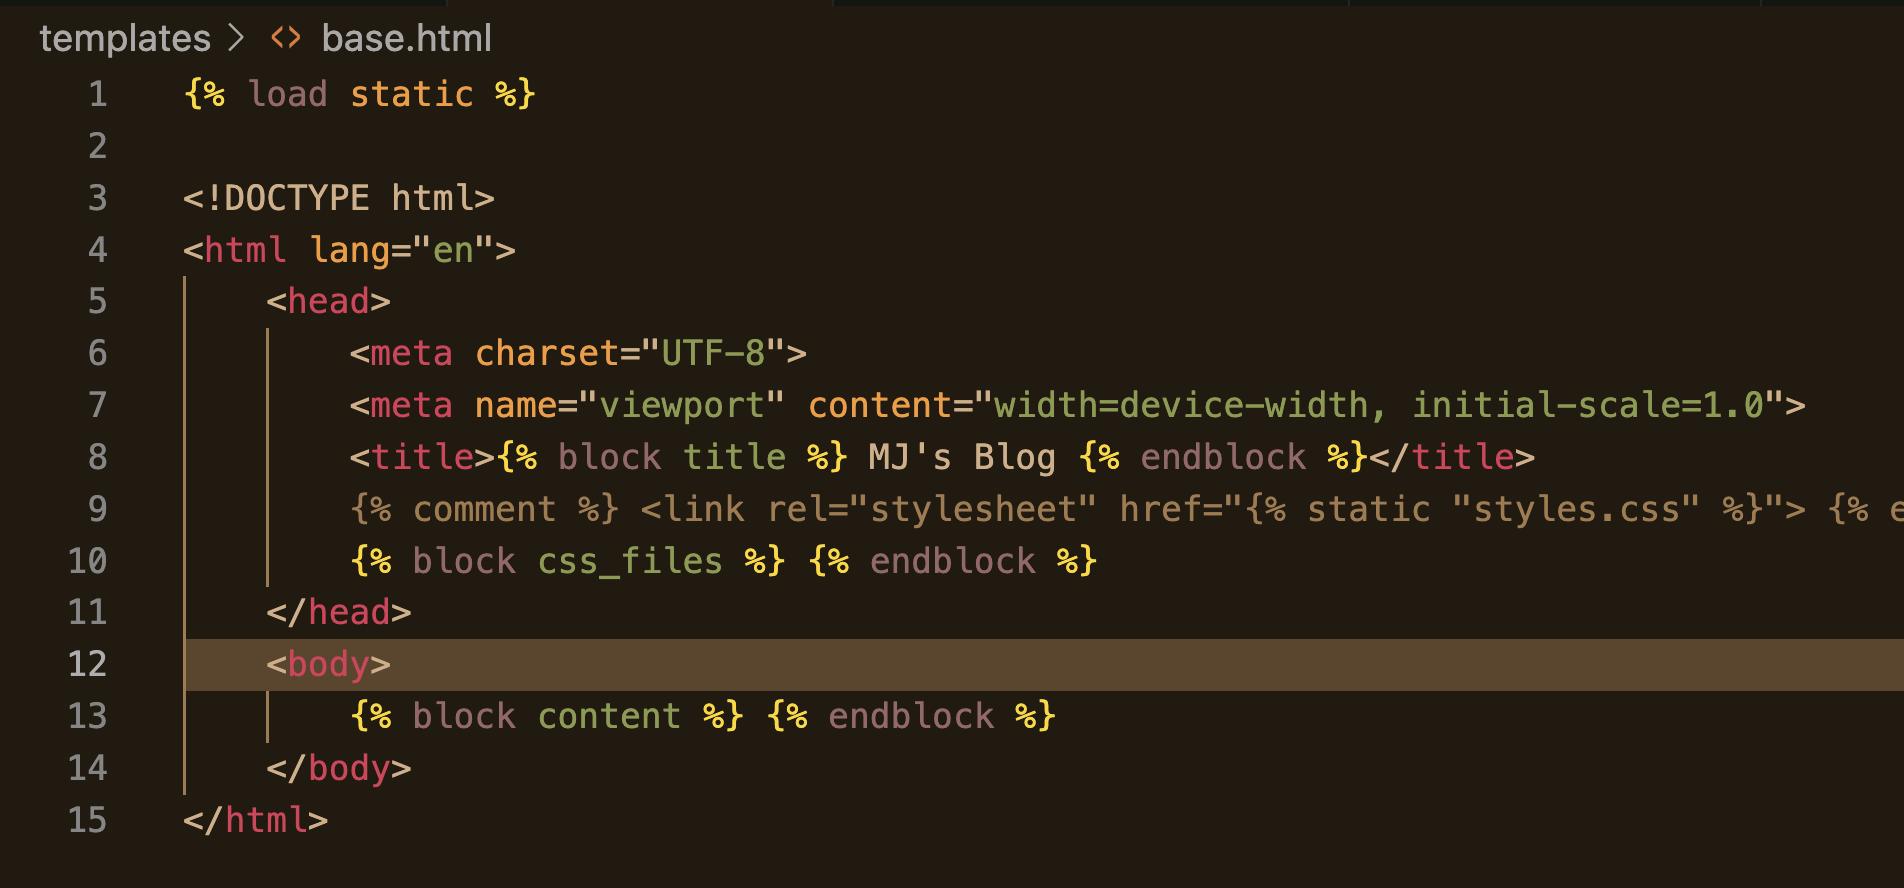
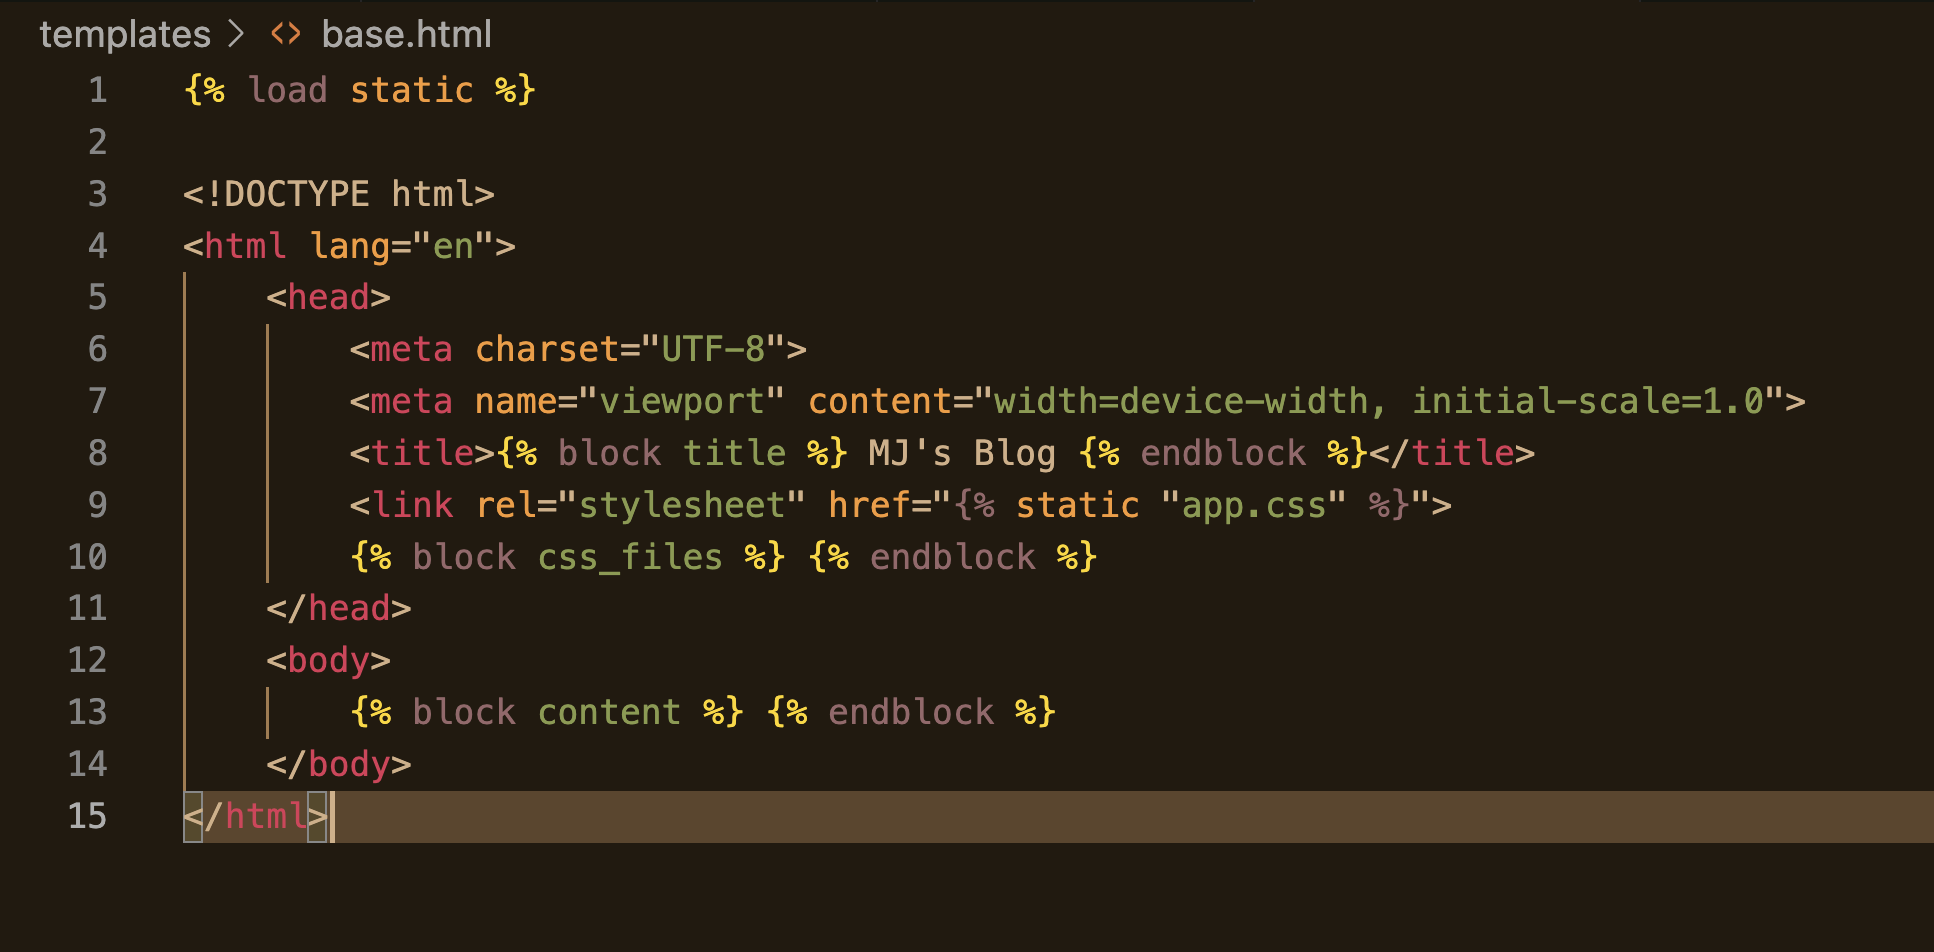
- 기본적인 틀을 담은 base.html


1. setting에 들어가서 TEMPLATES에 'template' 경로를 추가
2. INSTALLED_APPS 에 'blog'추가
직접적인 경로를 주지 않았기 때문에 이렇게 경로를 설정해줘야 함.
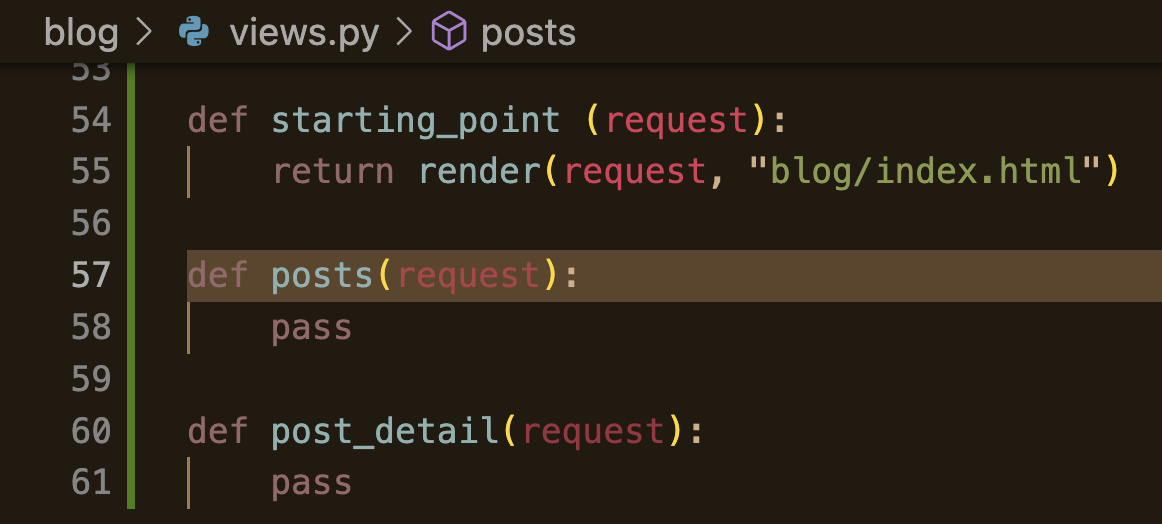
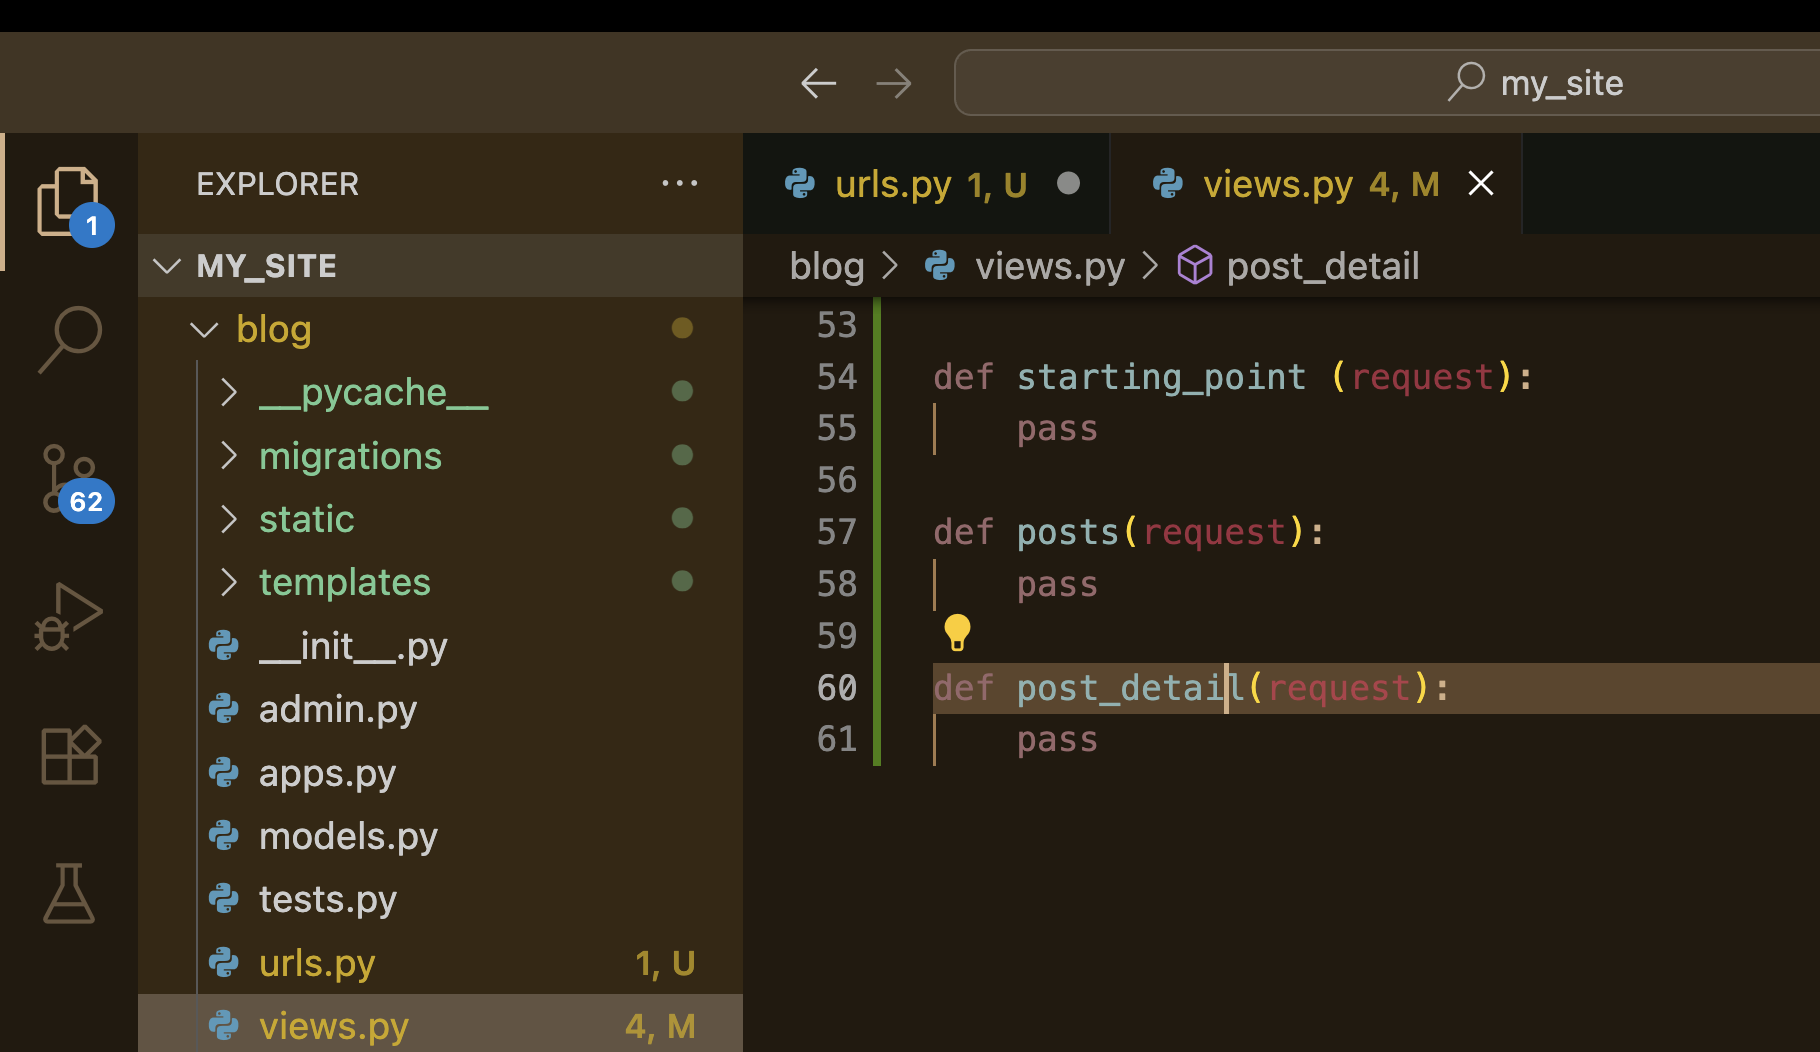
- starting_point에서 blog/index.html로 render하도록 경로를 설정
# views.py

def starting_point (request):
    return render(request, "blog/index.html")

def posts(request):
    pass

def post_detail(request):
    pass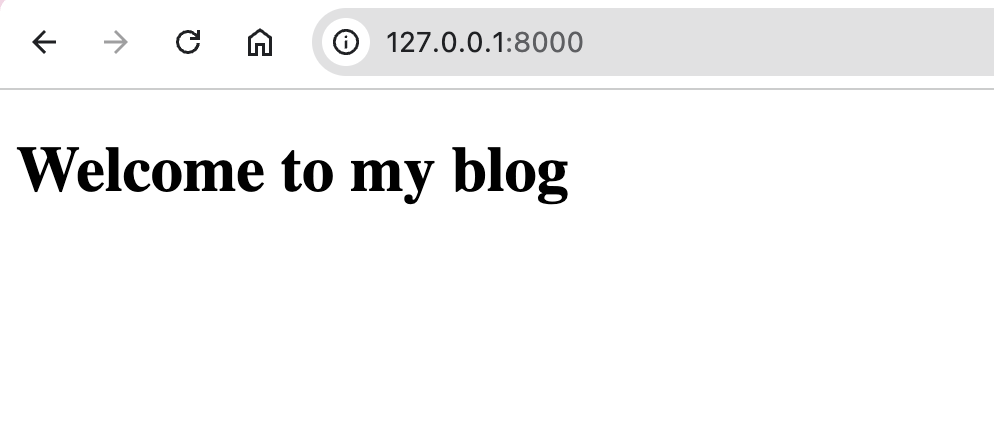
첫 화면이 제대로 나오는 것을 확인할 수 있다..
* 첫 화면으로 가는 버튼 생성
# blog/templates/blog/index.html
{% extends "base.html" %}
{% comment %} {% load static %} {% endcomment %}
{% comment %} {% block css_files %}
<link rel="stylesheet" href="{% static "blog/blog.css" %}">
<link rel="stylesheet" href="{% static "blog/includes/header.css" %}">
{% endblock %} {% endcomment %}
{% block page_title %}
My Blog
{% endblock %}
{% block content%}
{% comment %} {% include "blog/includes/header.html" %} {% endcomment %}
<header id="main-navigation">
<h1><a href="">MJ's Blog</a></h1>
<nav>
<a href="">All Posts</a>
</nav>
</header>
<section id="welcome">
<header>
<img src="" alt="max - The Author of This Blog" />
<h2> MJ'S BLOG </h2>
</header>
<p>Hi, I am Minjoo and I love to blog about Tech and the world!</p>
</section>
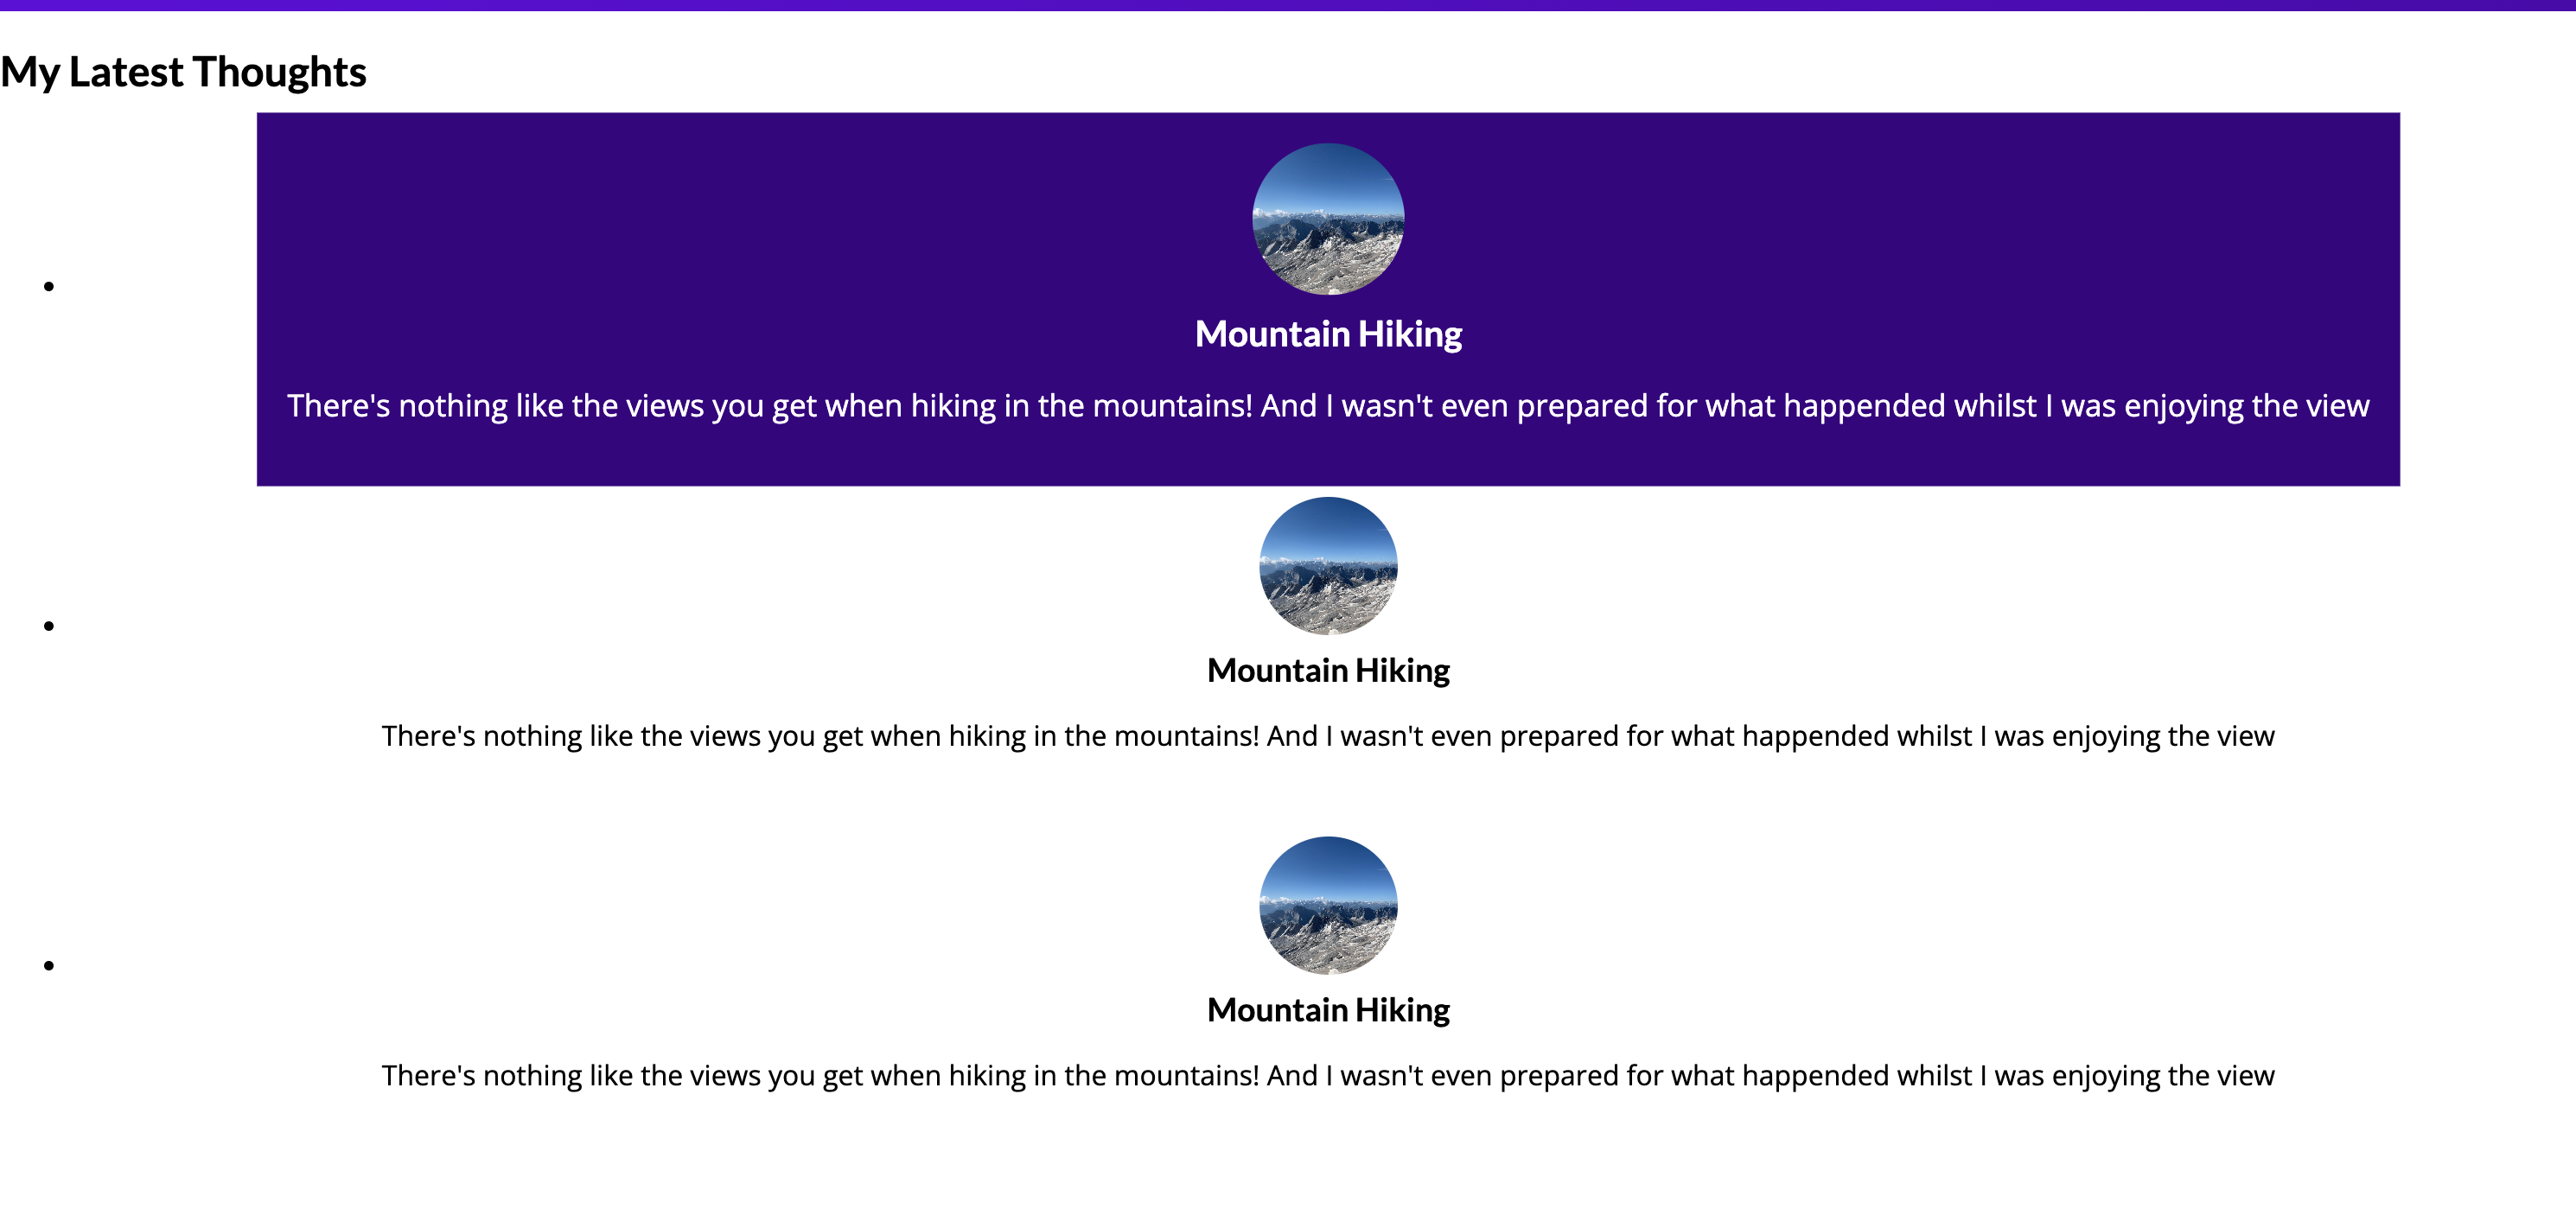
<section id ="latest-Posts">
<h2>My Latest Thoughts</h2>
<ul>
<li>
<article class="post">
<a href="">
<img src="" alt="Mountain Hiking" />
<div class="post__content">
<h3>Mountain Hiking</h3>
<p>There's nothing like the views you get when hiking in the mountains!
And I wasn't even prepared for what happended
whilst I was enjoying the view
</p>
</div>
</a>
</article>
</li>
</ul>
</section>
<section id="about">
<h2>What I Do</h2>
<p>
I love programming, I love to help others and I enjoy exploring new
technologies in general!
</p>
<p>
My goal is to keep on growing as a developer - and if I could help do the
same, I'd be very happy!
</p>
</section>
{% endblock %}

관련 css 코드는 여기서 다운 받으면 됨!
django-practical-guide-course-code/css-files at prj-urls-views-templates-zz-extra-files · academind/django-practical-guide-cour
This repository holds the source code snapshots for our "Django - The Practical Guide" course (https://acad.link/django) - academind/django-practical-guide-course-code
github.com
app.css 파일 연결하는 코드 작성

- STATICFILES_DIRS 에 추가해서 빠르게 경로를 찾을 수 있도록 한다.
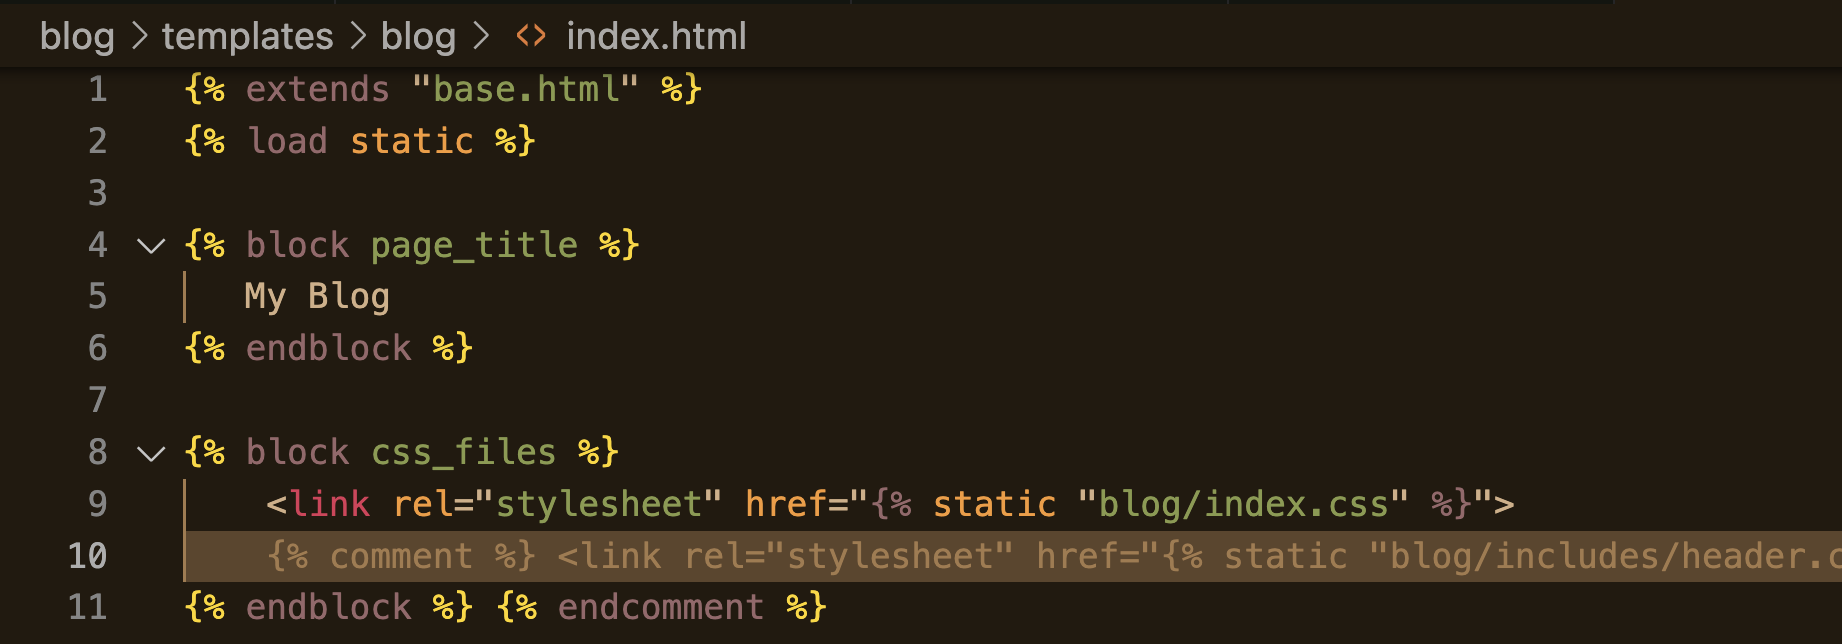
- css_files - index.css 추가
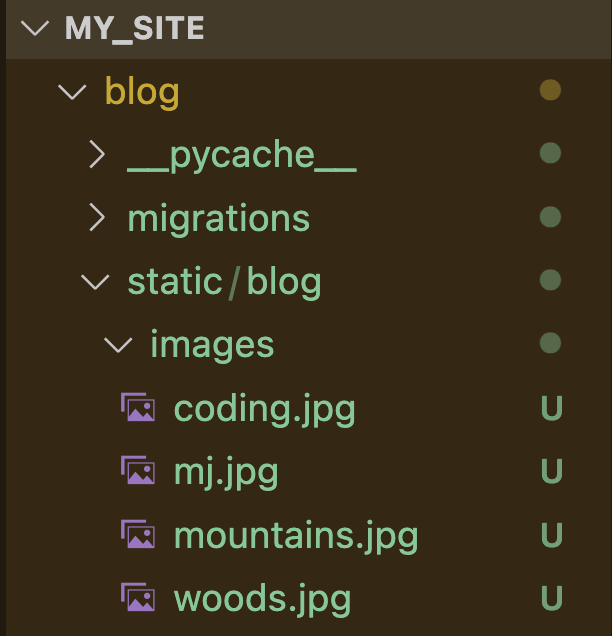
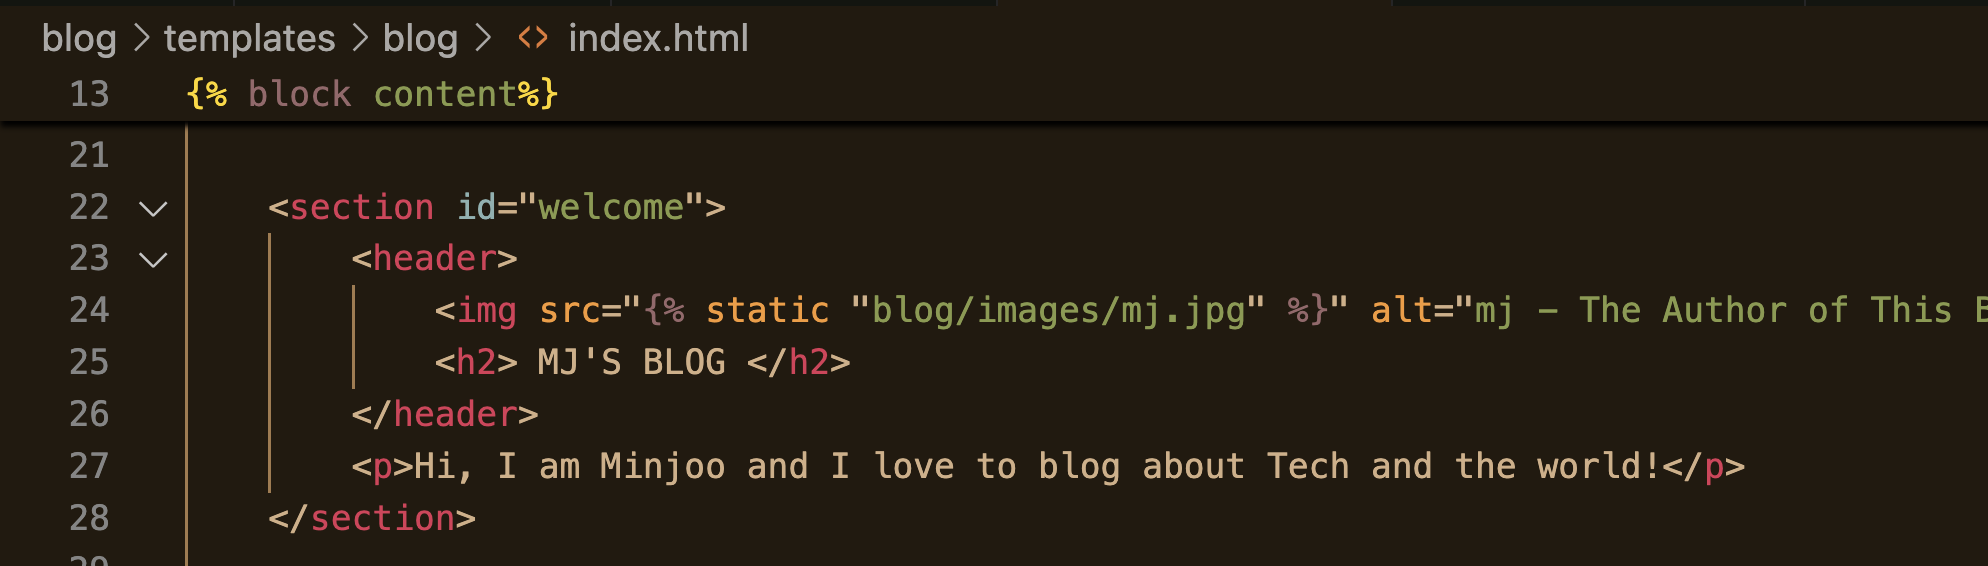
이미지 폴더는 blog/static/blog/images 에 추가한 후
index.html 에서 이미지 경로를 추가해주면 된다.


- MJ's Blog와 All posts 버튼을 담고있는 main-navigation 헤더는 모든 화면에서 나타나야 함 -> 중복
- 계속 복붙할 필요 없이 하나의 폴더를 만들어서 지정한다.

또한, index.html에 있는 post를 담고 있는 article post도 post의 형식을 중복해서 담고 있다.
all post에는 모든 포스트를 표시하고 첫 화면에는 최근 3개만 표시한다.


views.py에 돌아와 posts에 render 추가
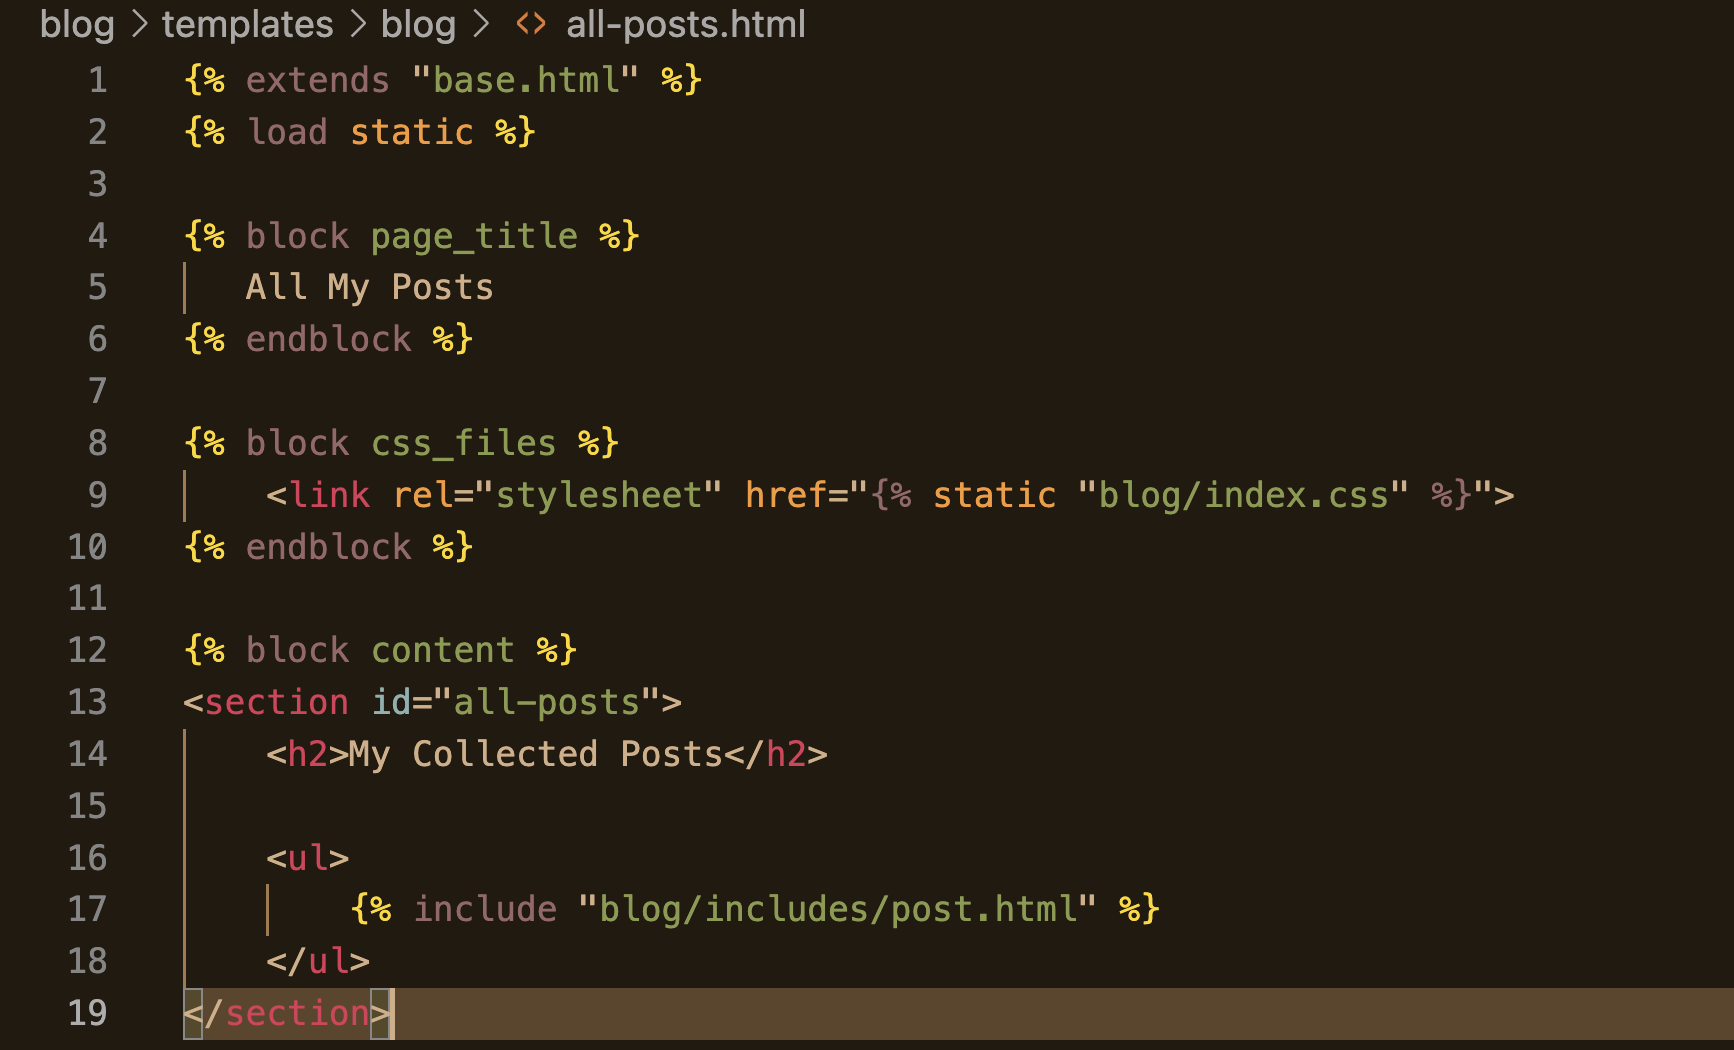
# blog/ templates/blog/all-posts.html
{% extends "base.html" %}
{% load static %}
{% block page_title %}
All My Posts
{% endblock %}
{% block css_files %}
<link rel="stylesheet" href="{% static "blog/index.css" %}">
{% endblock %}
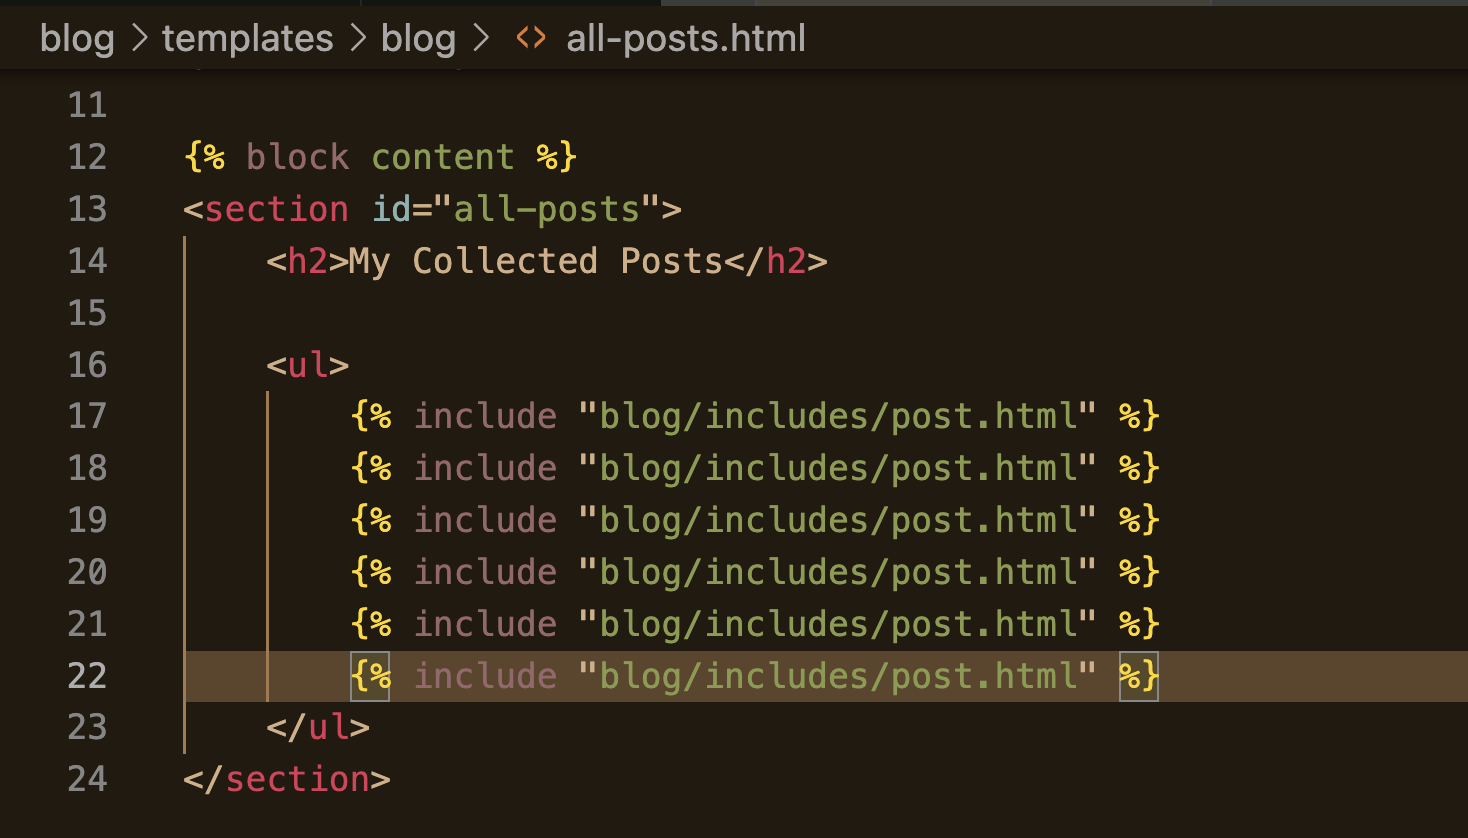
{% block content %}
<section id="all-posts">
<h2>My Collected Posts</h2>
<ul>
{% include "blog/includes/post.html" %}
{% include "blog/includes/post.html" %}
{% include "blog/includes/post.html" %}
{% include "blog/includes/post.html" %}
{% include "blog/includes/post.html" %}
{% include "blog/includes/post.html" %}
</ul>
</section>
{% endblock %}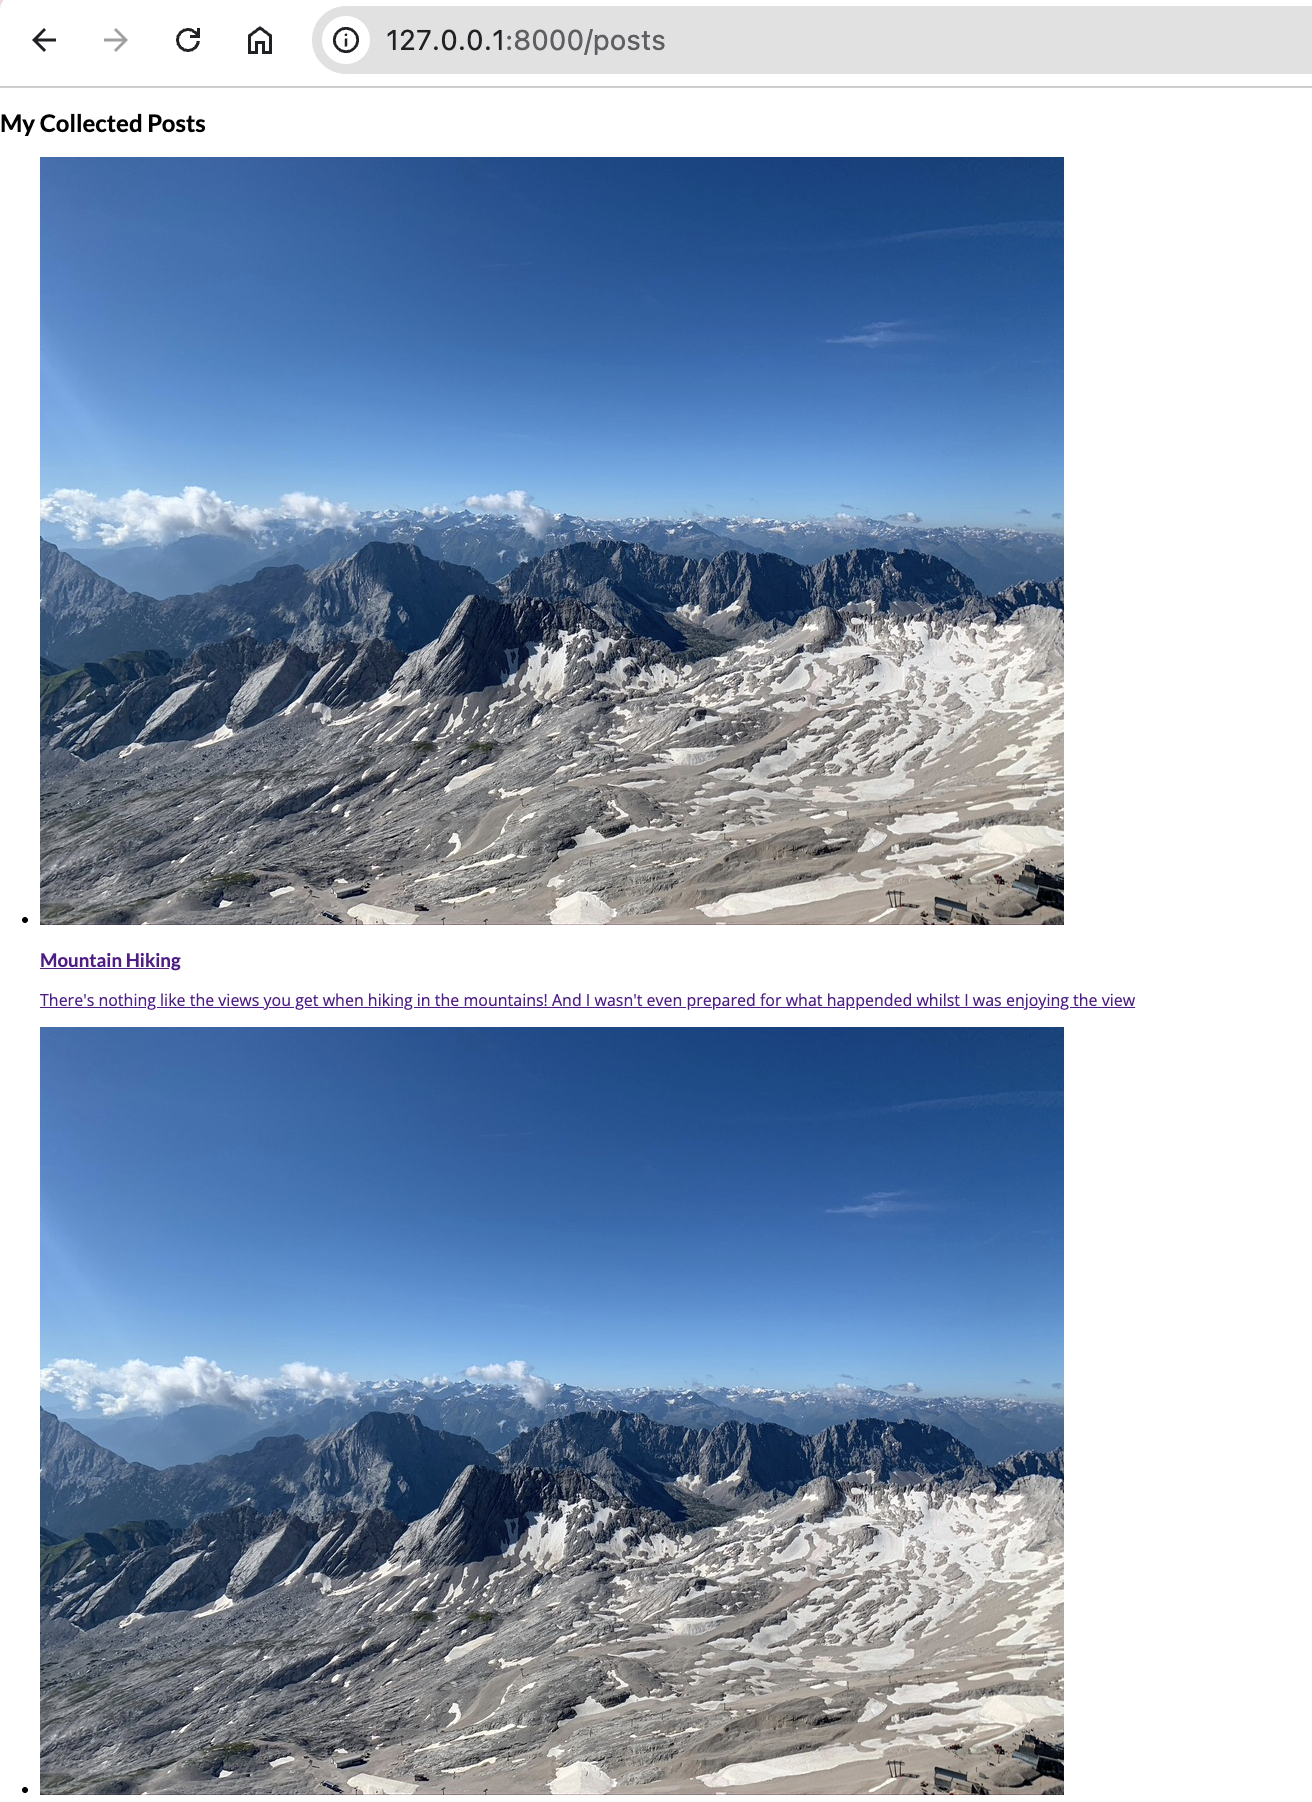
주소창에 직접 /posts/를 입력하면 들어갈 수 있음.
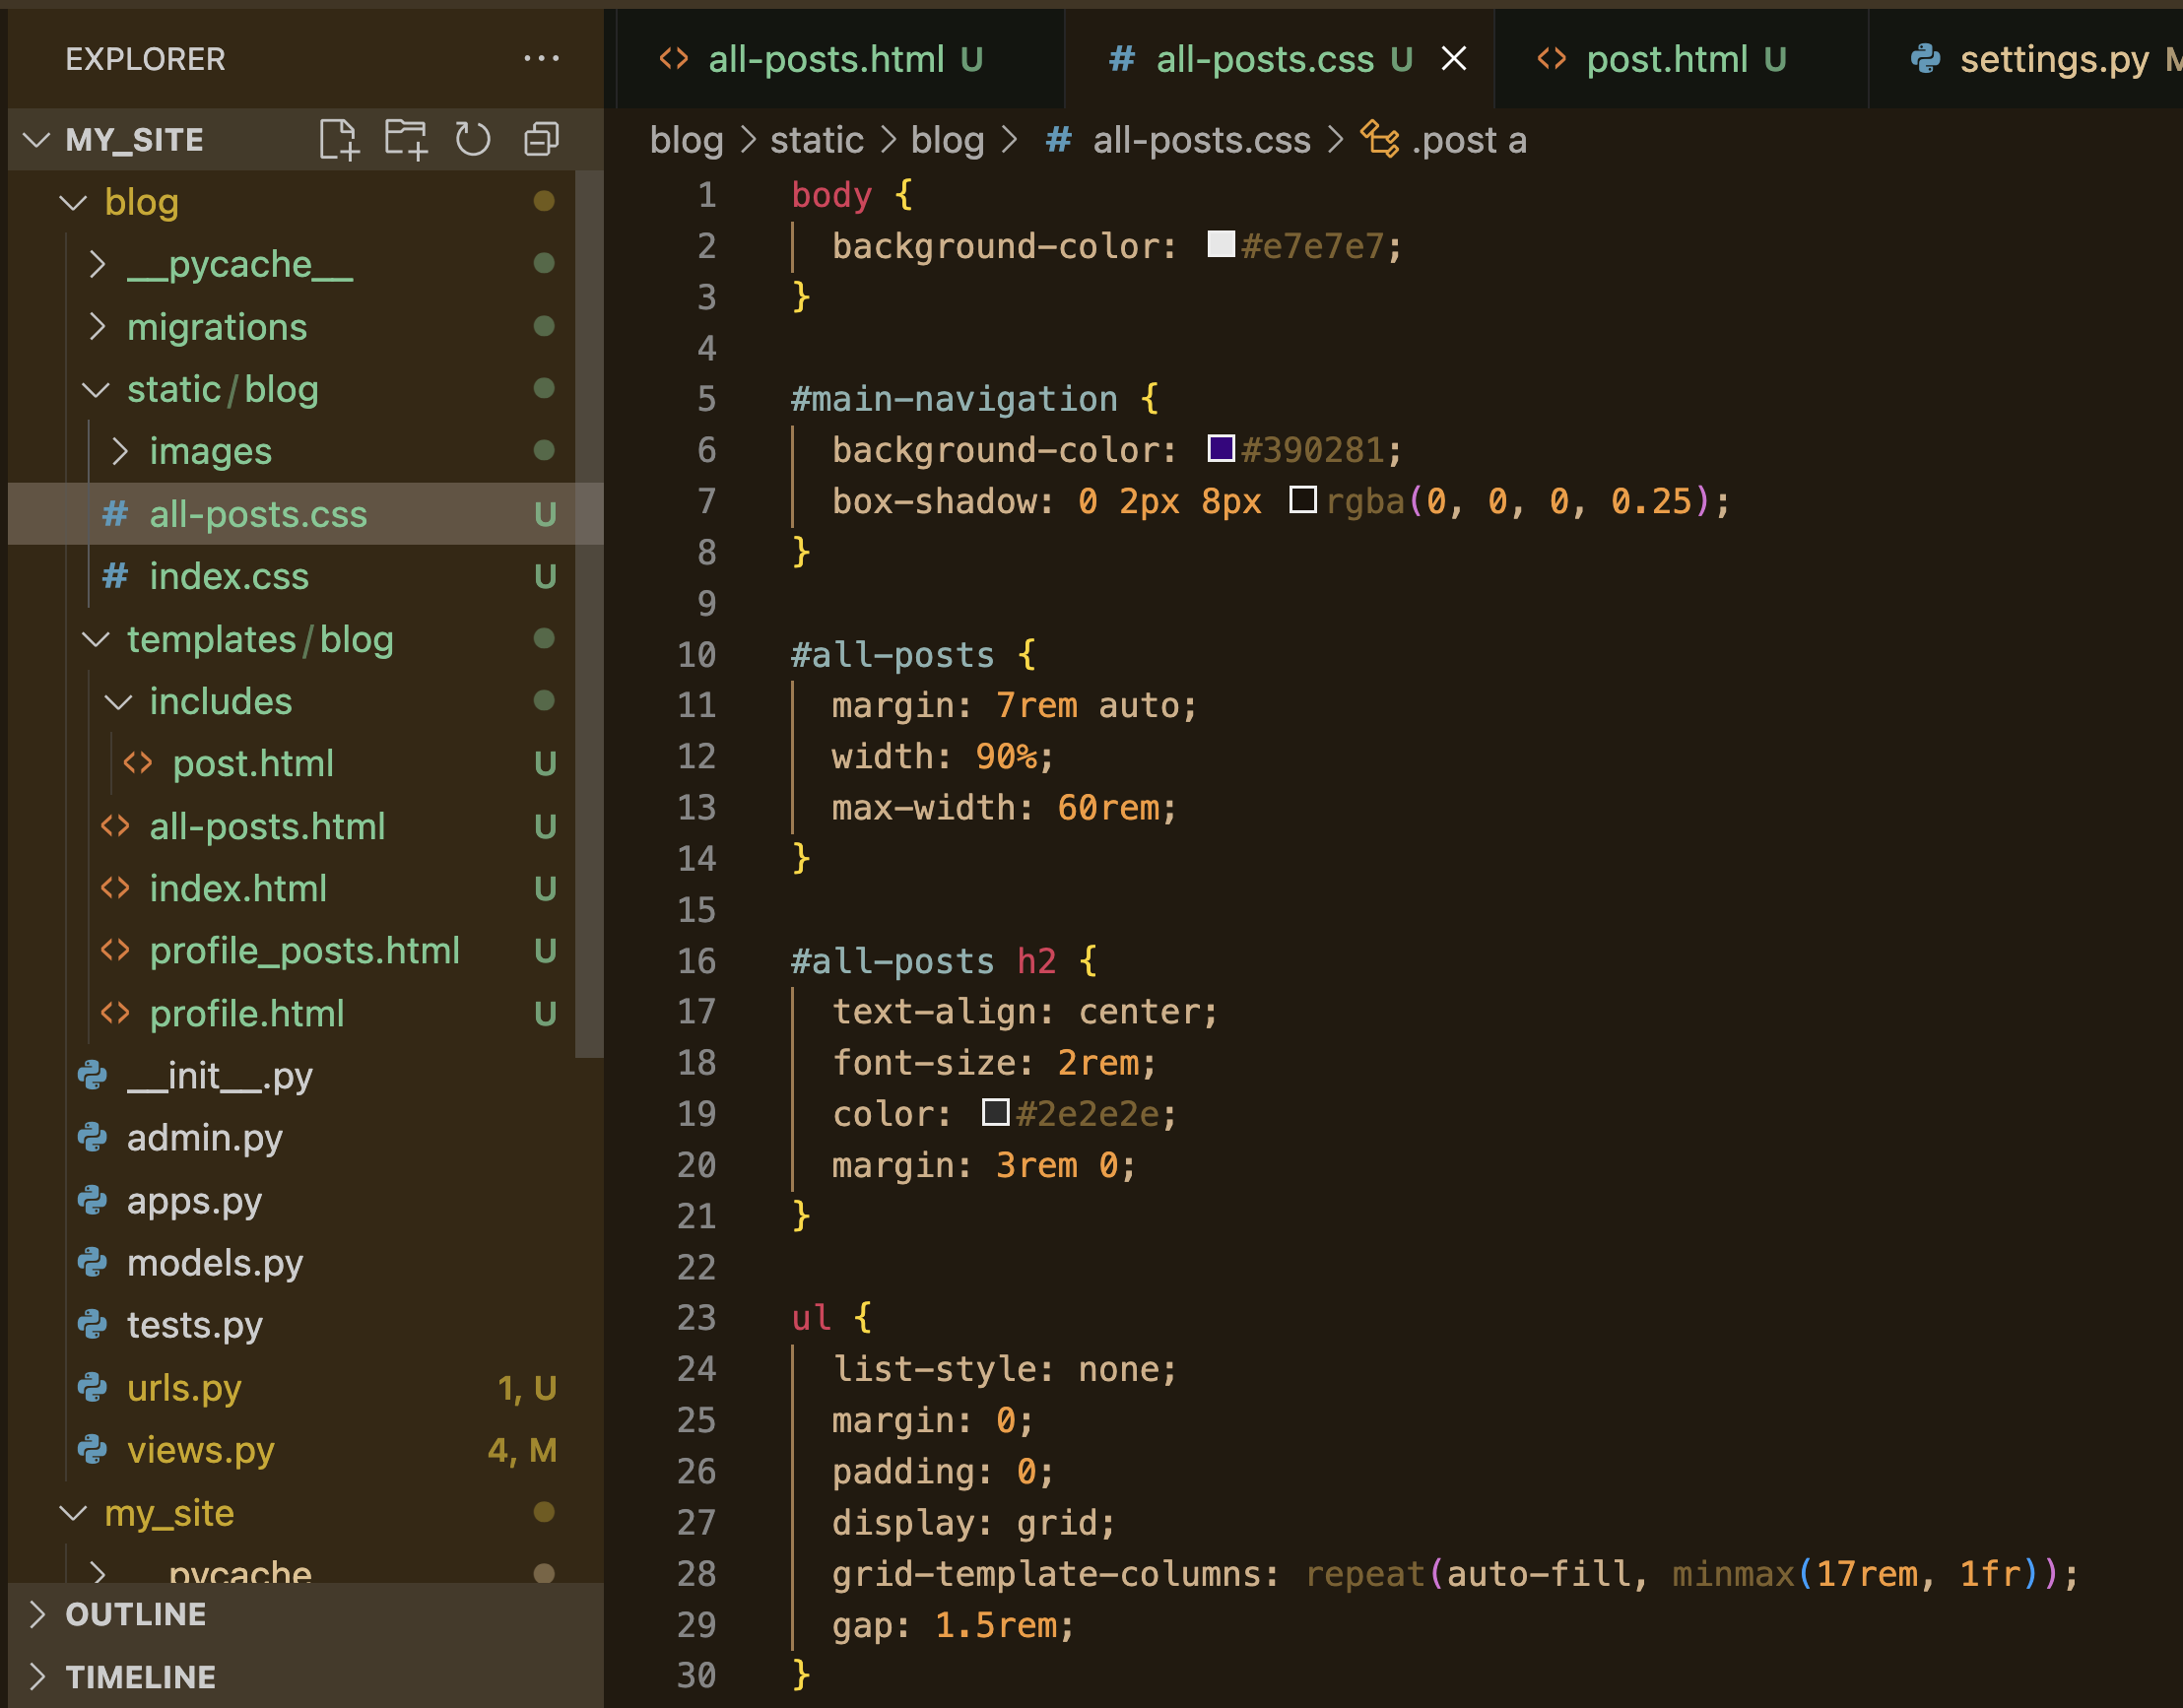
- all-post.css 추가
{% extends "base.html" %}
{% load static %}

{% block page_title %}
   All My Posts
{% endblock %}

{% block css_files %}
    <link rel="stylesheet" href="{% static "blog/all-posts.css" %}">
{% endblock %}

{% block content %}
<section id="all-posts">
    <h2>My Collected Posts</h2>

    <ul>
        {% include "blog/includes/post.html" %}
        {% include "blog/includes/post.html" %}
        {% include "blog/includes/post.html" %}
        {% include "blog/includes/post.html" %}
        {% include "blog/includes/post.html" %}
        {% include "blog/includes/post.html" %}
    </ul>
</section>
{% endblock %}static 의 blog/index.html의 경로를 blog/all-post.html로 수정해준다.

- 모든 화면에 post가 있는 게 아니므로 base.html이 아니라 index.html, all-post.html에 해당 css를 추가해준다.


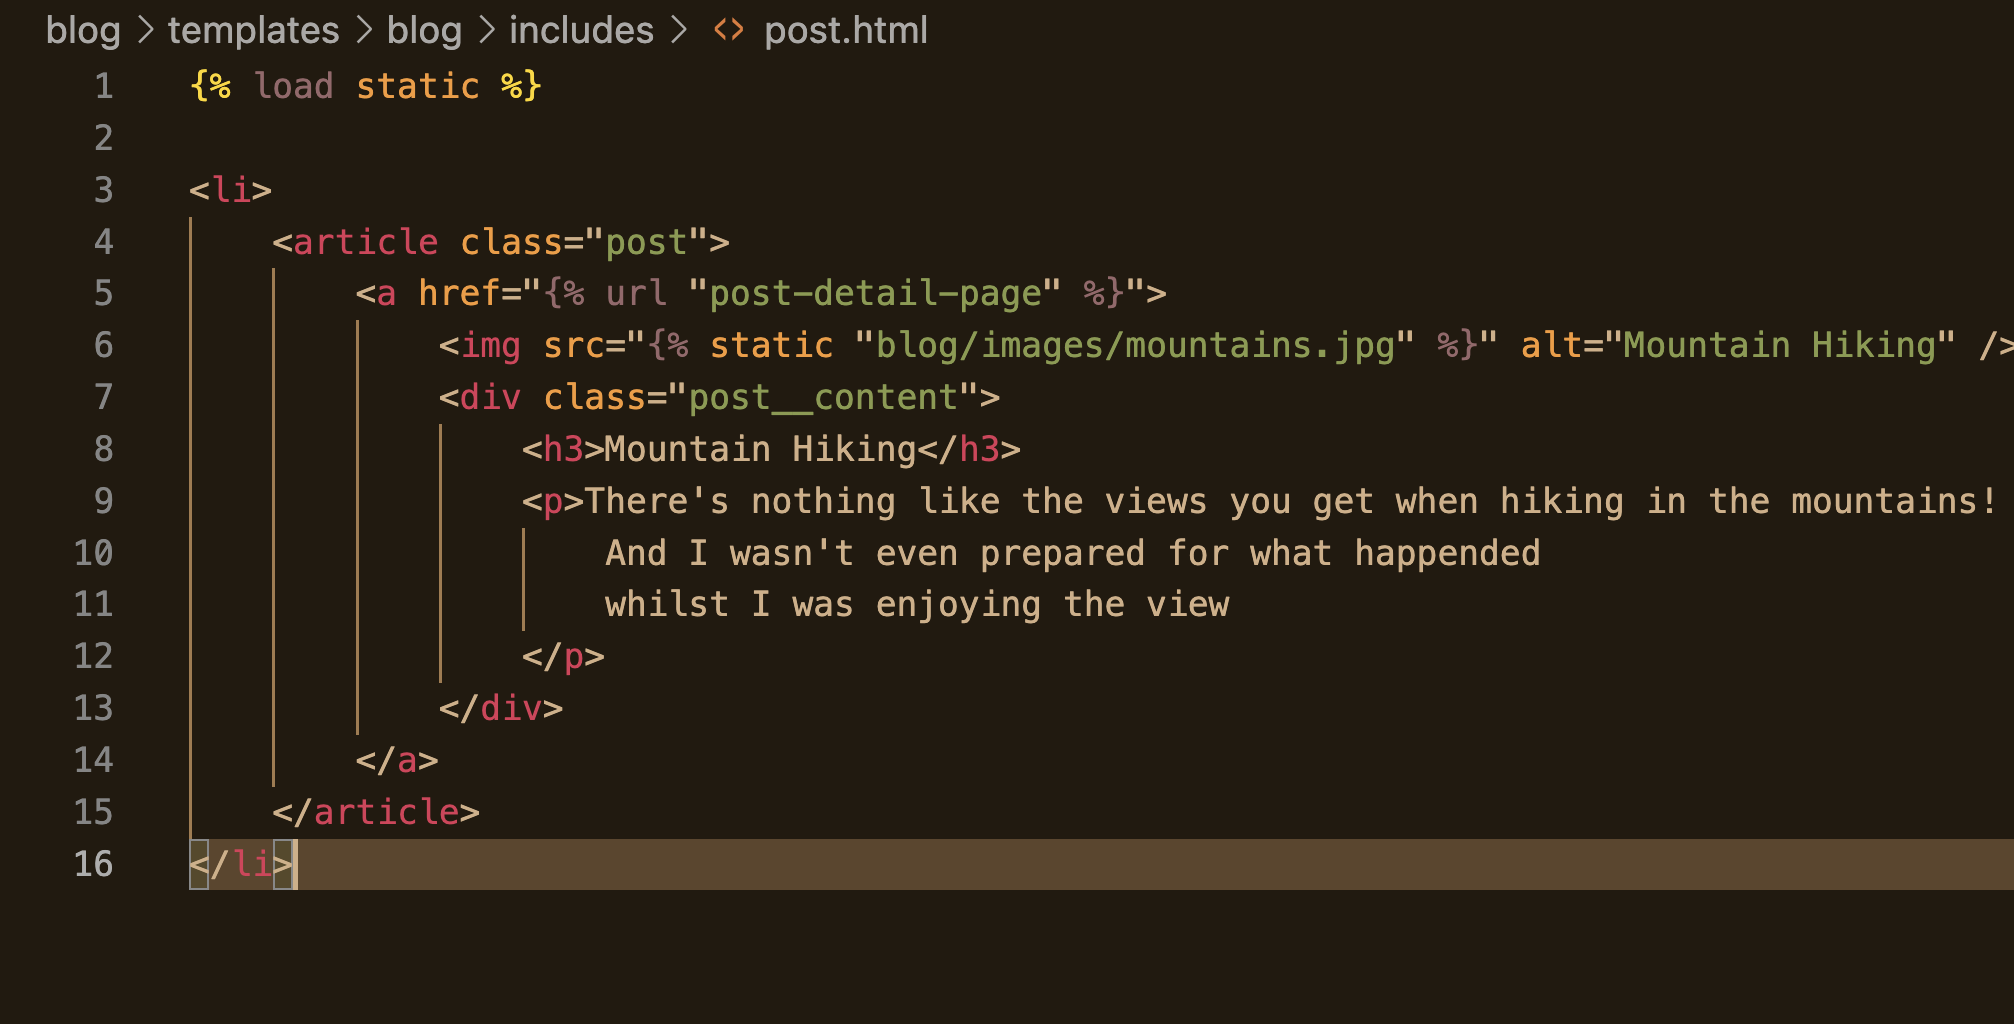
url tag 추가하는데 이는 slug로 되어 있으므로 "the-mountains"도 추가한다.
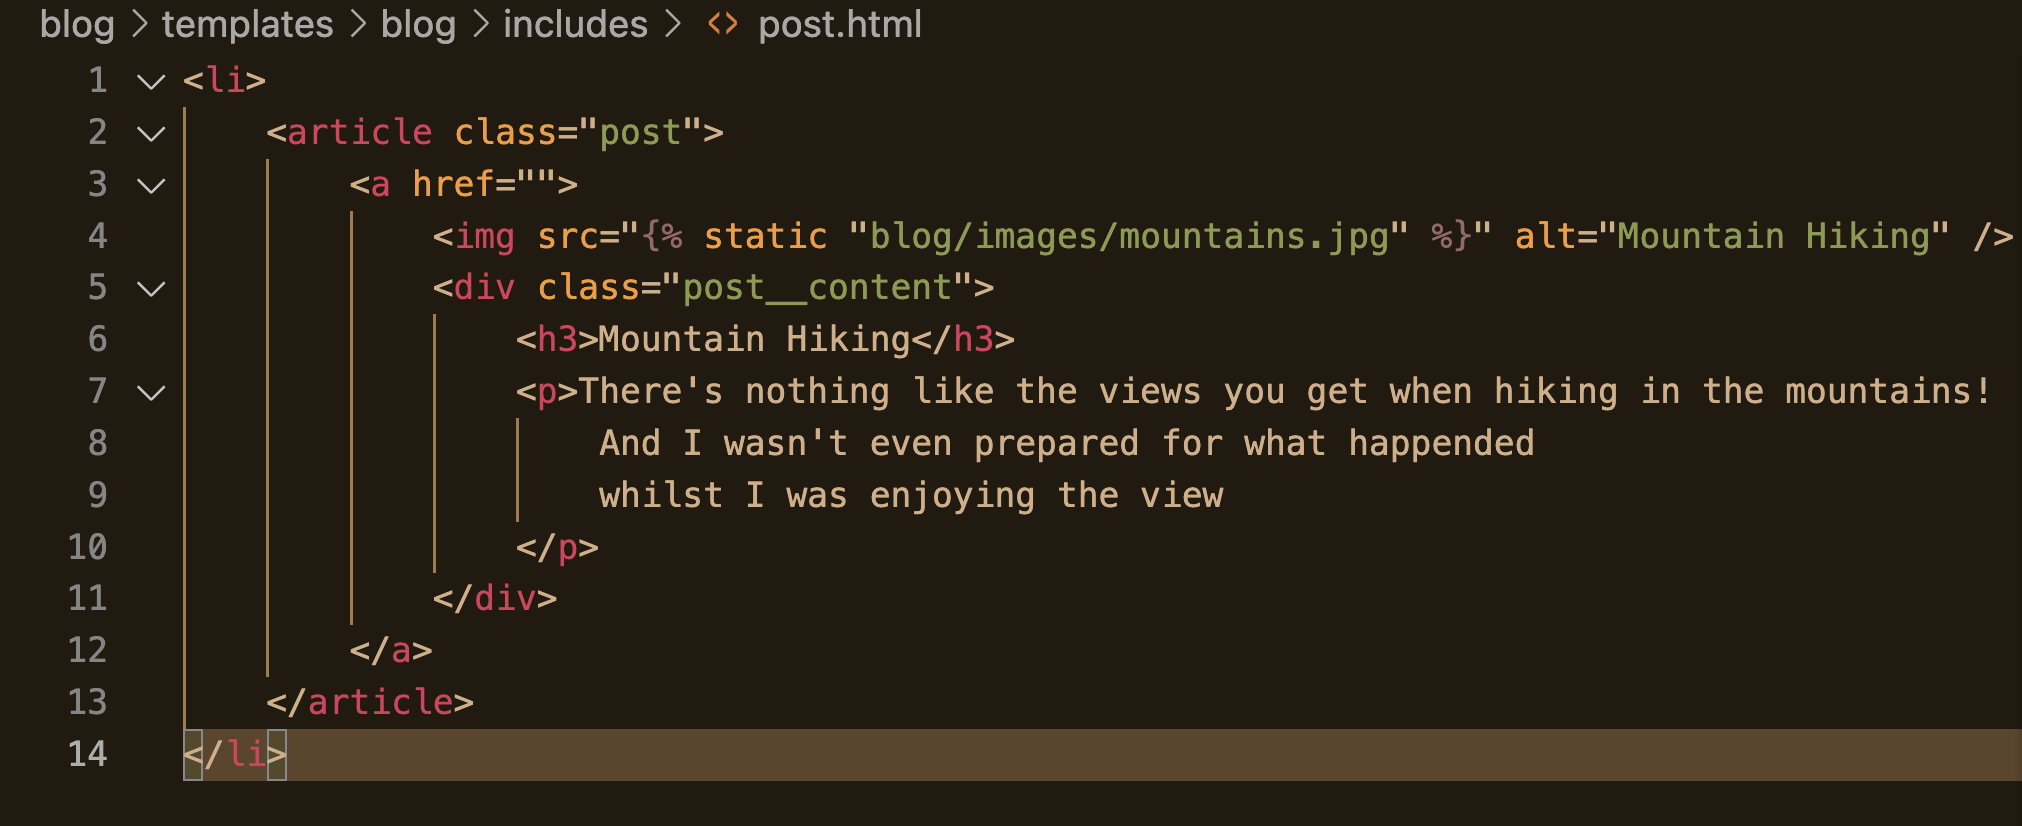
{% load static %}

<li>
    <article class="post">
        <a href="{% url "post-detail-page" "the-mountains"%}">
            <img src="{% static "blog/images/mountains.jpg" %}" alt="Mountain Hiking" />
            <div class="post__content">
                <h3>Mountain Hiking</h3>
                <p>There's nothing like the views you get when hiking in the mountains!
                    And I wasn't even prepared for what happended
                    whilst I was enjoying the view
                </p>
            </div>
        </a>
    </article>
</li>
- 아직 내용이 없기 때문에 오류가 발생하는 것이 당연하나, the-mountains라고 쓰여진 url이 형성된 것을 볼 수 있다.
{% extends "base.html" %}
{% load static %}
{% block page_title %}
This Post title
{% endblock %}
{% block css_files %}
<link rel="stylesheet" href="{% static "blog/post-detail.css" %}"/>
{% endblock %}
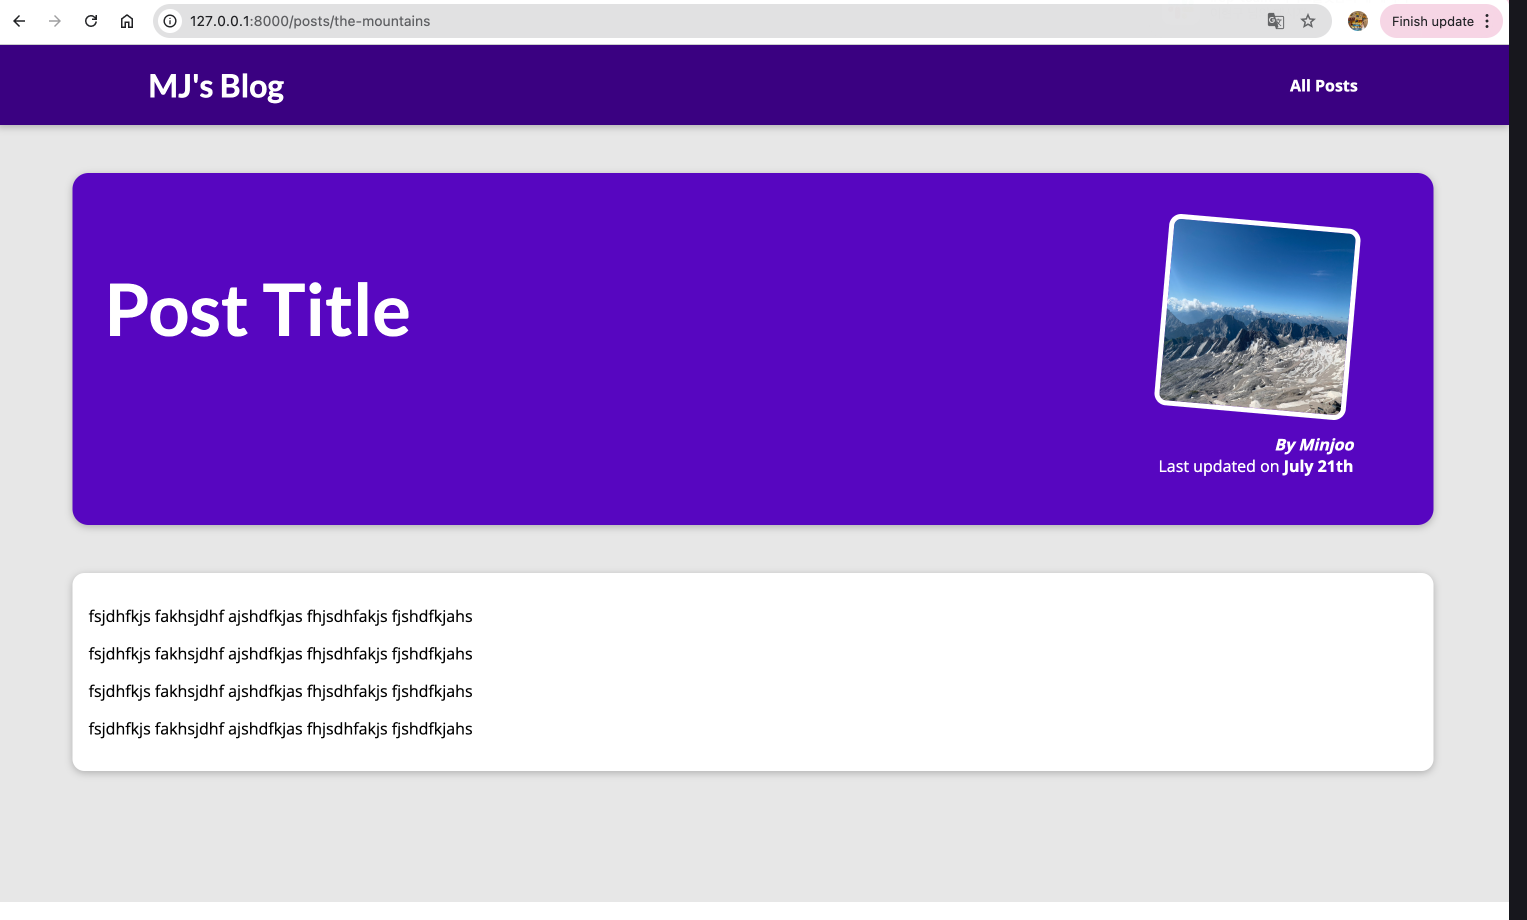
{% block content %}
<section id="summary">
<h2>Post Title</h2>
<article>
<img src="{% static "blog/images/mountains.jpg" %}" alt="Post Title"
<address>By Minjoo</address>
<div>
Last updated on <time>July 21th</time>
</div>
</article>
</section>
<main>
<p>
fsjdhfkjs fakhsjdhf ajshdfkjas fhjsdhfakjs fjshdfkjahs
</p>
<p>
fsjdhfkjs fakhsjdhf ajshdfkjas fhjsdhfakjs fjshdfkjahs
</p>
<p>
fsjdhfkjs fakhsjdhf ajshdfkjas fhjsdhfakjs fjshdfkjahs
</p>
<p>
fsjdhfkjs fakhsjdhf ajshdfkjas fhjsdhfakjs fjshdfkjahs
</p>
</main>
{% endblock %}post_detail.html 을 생성한다.
from django.shortcuts import render
from django.http import Http404, HttpResponse
from django.urls import reverse
from django.template.loader import render_to_string


def starting_point (request):
    return render(request, "blog/index.html")

def posts(request):
    return render(request, "blog/all-posts.html")

def post_detail(request, slug):
    return render(request, "blog/post-detail.html")
views.py 에 post_detail에 관한 내용을 수정한다.
slug를 넘겨준다.
지금까지 하드코딩되어 있는 부분을 데이터베이스에서 가져오게 만들어야 한다!
from datetime import date
from django.shortcuts import render
posts = [
    {
        "slug": "hike-in-the-mountains",
        "image": "mountains.jpg",
        "author": "Maximilian",
        "date": date(2021, 7, 21),
        "title": "Mountain Hiking",
        "excerpt": "There's nothing like the views you get when hiking in the mountains! And I wasn't even prepared for what happened whilst I was enjoying the view!",
        "content": """
          Lorem ipsum dolor sit amet consectetur adipisicing elit. Officiis nobis
          aperiam est praesentium, quos iste consequuntur omnis exercitationem quam
          velit labore vero culpa ad mollitia? Quis architecto ipsam nemo. Odio.

          Lorem ipsum dolor sit amet consectetur adipisicing elit. Officiis nobis
          aperiam est praesentium, quos iste consequuntur omnis exercitationem quam
          velit labore vero culpa ad mollitia? Quis architecto ipsam nemo. Odio.

          Lorem ipsum dolor sit amet consectetur adipisicing elit. Officiis nobis
          aperiam est praesentium, quos iste consequuntur omnis exercitationem quam
          velit labore vero culpa ad mollitia? Quis architecto ipsam nemo. Odio.
        """
    },
    {
        "slug": "programming-is-fun",
        "image": "coding.jpg",
        "author": "Maximilian",
        "date": date(2022, 3, 10),
        "title": "Programming Is Great!",
        "excerpt": "Did you ever spend hours searching that one error in your code? Yep - that's what happened to me yesterday...",
        "content": """
          Lorem ipsum dolor sit amet consectetur adipisicing elit. Officiis nobis
          aperiam est praesentium, quos iste consequuntur omnis exercitationem quam
          velit labore vero culpa ad mollitia? Quis architecto ipsam nemo. Odio.

          Lorem ipsum dolor sit amet consectetur adipisicing elit. Officiis nobis
          aperiam est praesentium, quos iste consequuntur omnis exercitationem quam
          velit labore vero culpa ad mollitia? Quis architecto ipsam nemo. Odio.

          Lorem ipsum dolor sit amet consectetur adipisicing elit. Officiis nobis
          aperiam est praesentium, quos iste consequuntur omnis exercitationem quam
          velit labore vero culpa ad mollitia? Quis architecto ipsam nemo. Odio.
        """
    },
    {
        "slug": "into-the-woods",
        "image": "woods.jpg",
        "author": "Maximilian",
        "date": date(2020, 8, 5),
        "title": "Nature At Its Best",
        "excerpt": "Nature is amazing! The amount of inspiration I get when walking in nature is incredible!",
        "content": """
          Lorem ipsum dolor sit amet consectetur adipisicing elit. Officiis nobis
          aperiam est praesentium, quos iste consequuntur omnis exercitationem quam
          velit labore vero culpa ad mollitia? Quis architecto ipsam nemo. Odio.

          Lorem ipsum dolor sit amet consectetur adipisicing elit. Officiis nobis
          aperiam est praesentium, quos iste consequuntur omnis exercitationem quam
          velit labore vero culpa ad mollitia? Quis architecto ipsam nemo. Odio.

          Lorem ipsum dolor sit amet consectetur adipisicing elit. Officiis nobis
          aperiam est praesentium, quos iste consequuntur omnis exercitationem quam
          velit labore vero culpa ad mollitia? Quis architecto ipsam nemo. Odio.
        """
    }
]

def starting_point (request):
    return render(request, "blog/index.html")

def posts(request):
    return render(request, "blog/all-posts.html")

def post_detail(request, slug):
    return render(request, "blog/post-detail.html")

"""
URLConf(urls.py)에서 받은 slug 문자열이 post_detail() 함수의 두 번째 인자로 들어옴.
이 값을 이용해서 보통은 데이터베이스에서 해당 slug에 해당하는 포스트를 찾음.
"""
views.py 에 카테고리별로 포스트의 각 내용을 정리한다.
홈 화면에 가장 최근에 올린 3개의 포스트가 보여아 하므로 가장 최근에 올린 포스트를 가져오는 코드를 작성한다.
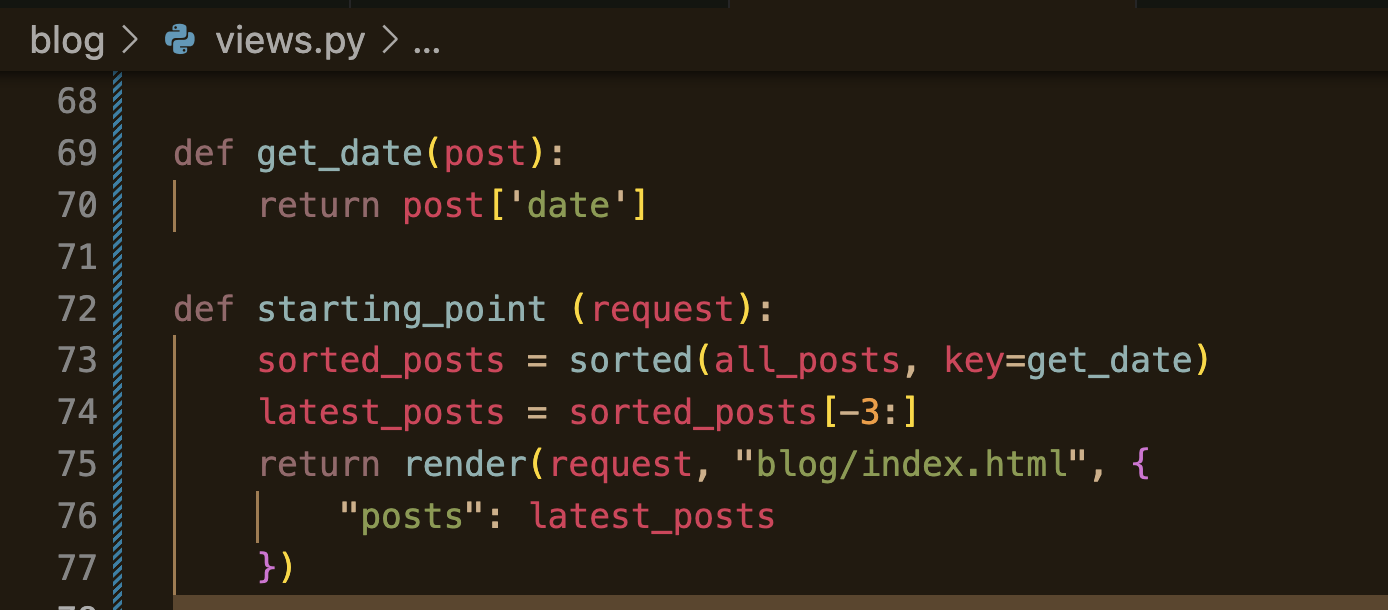
def get_date(post):
    return post['date']

def starting_point (request):
    sorted_posts = sorted(all_posts, key=get_date)
    latest_posts = sorted_posts[-3:]
    return render(request, "blog/index.html", {
        "posts": latest_posts
    })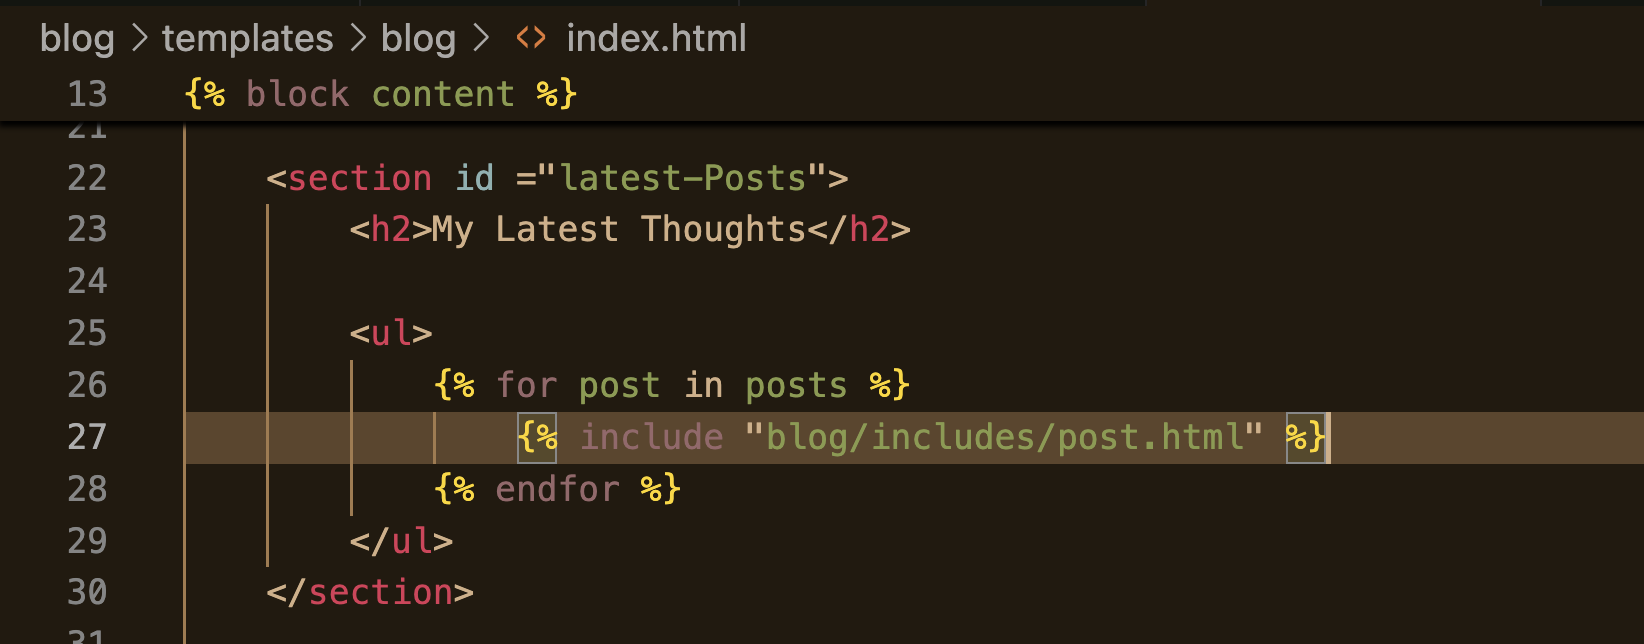
post.title을 받아오려면?
{% load static %}

<li>
    <article class="post">
        <a href="{% url "post-detail-page" post.slug %}">
            <img src="{% static "blog/images/" | add:post.image %}" alt= {{ post.title }} />
            <div class="post__content">
                <h3>{{ post.title }}</h3>
                <p>{{post.excerpt}}
                </p>
            </div>
        </a>
    </article>
</li>
.title로 받아와야 함. []은 안됨.
excerpt도 마찬가지..
image를 가져오기 위해서는 | add 라는 필터를 사용해야 함.
post.slug와 alt의 post.title도 수정해준다..

alt 가 뭐지?


{% extends "base.html" %}
{% load static %}
{% block page_title %}
All My Posts
{% endblock %}
{% block css_files %}
<link rel="stylesheet" href="{% static "blog/all-posts.css" %}">
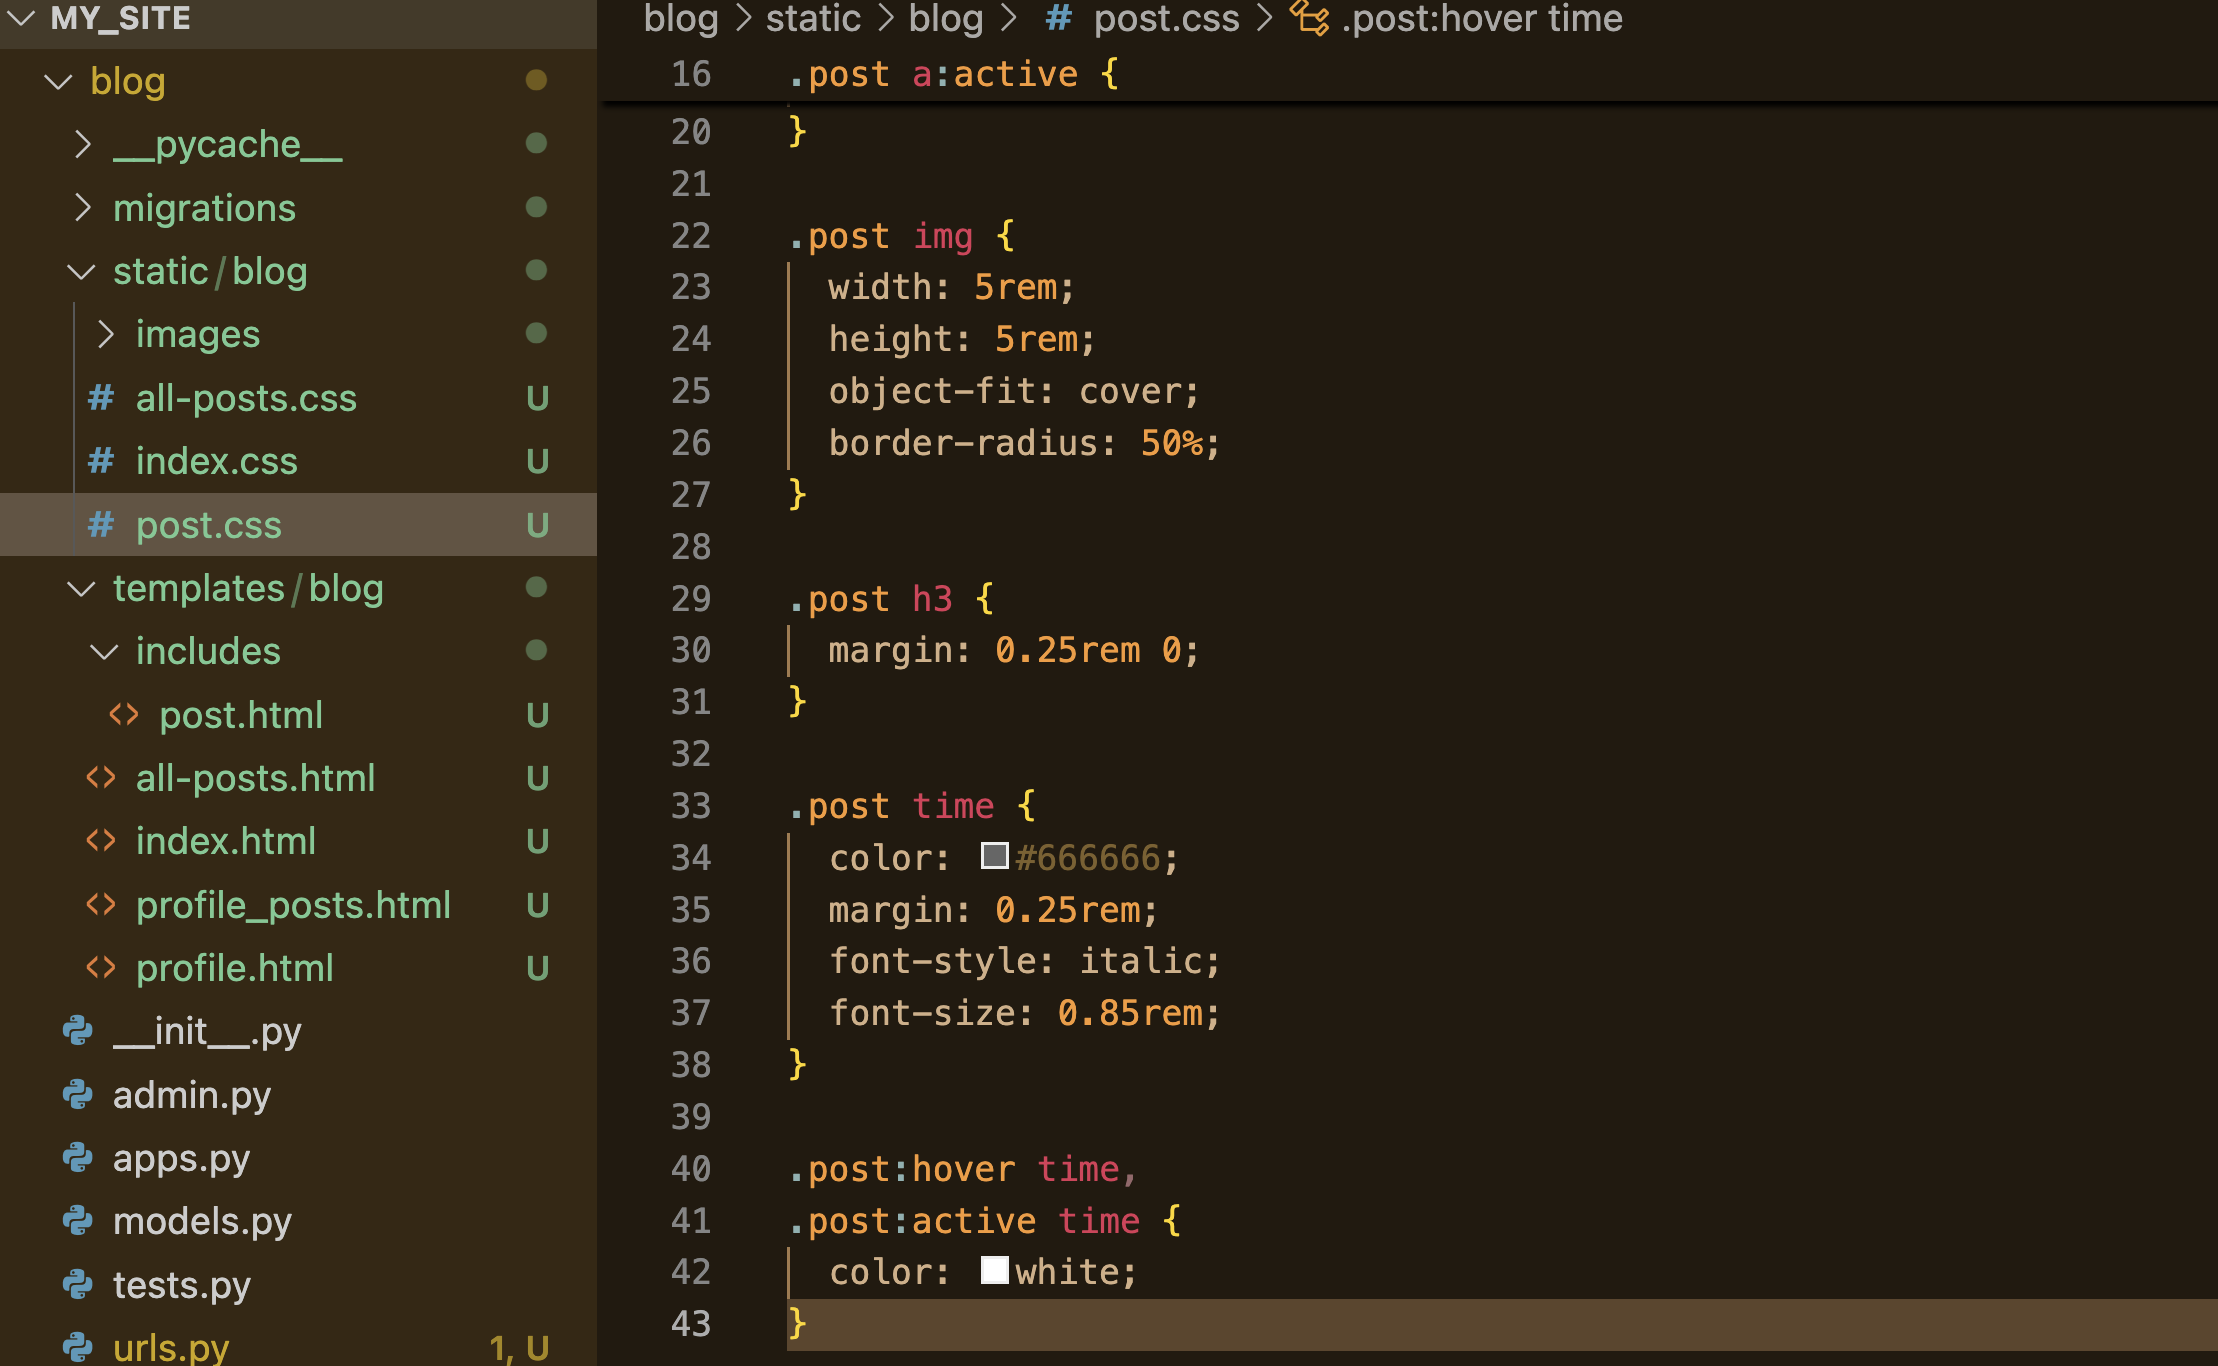
<link rel="stylesheet" href="{% static "blog/post.css" %}">
{% endblock %}
{% block content %}
<section id="all-posts">
<h2>My Collected Posts</h2>
<ul>
{% for post in all_posts %}
{% include "blog/includes/post.html" %}
{% endfor %}
</ul>
</section>
{% endblock %}
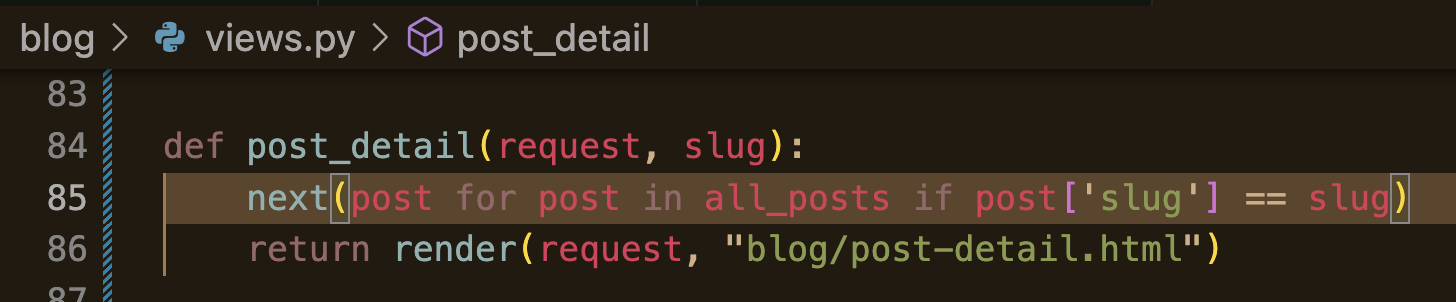
next를 추가함.
def post_detail(request, slug):
    identified_post = next(post for post in all_posts if post['slug'] == slug)
    return render(request, "blog/post-detail.html", {
        "post": identified_post
    })

마찬가지로 수정
post.date 사용하는 법 !
{% extends "base.html" %}
{% load static %}

{% block title %}
This Post title
{% endblock %}

{% block css_files %}
    <link rel="stylesheet" href="{% static "blog/post-detail.css" %}"/>
{% endblock %}

{% block content %}
    <section id="summary">
        <h2>{{post.title}}</h2>
        <article>
            <img src="{% static "blog/images/mountains.jpg" %}" alt="Post Title" />
            <address>By {{ post.author }}</address>
            <div>
                Last updated on <time>{{ post.date|date:"d M Y"}}</time>
            </div>
        </article>
    </section>

    <main>
        {{ post.content }}

    </main>
{% endblock %}추가

{% extends "base.html" %}
{% load static %}

{% block title %}
This Post title
{% endblock %}

{% block css_files %}
    <link rel="stylesheet" href="{% static "blog/post-detail.css" %}"/>
{% endblock %}

{% block content %}
    <section id="summary">
        <h2>{{post.title}}</h2>
        <article>
            <img src="{% static "blog/images/"|add:post.image %}" alt="{{post.title}}" />
            <address>By {{ post.author }}</address>
            <div>
                Last updated on <time>{{ post.date|date:"d M Y"}}</time>
            </div>
        </article>
    </section>

    <main>
        {{ post.content|linebreaks }}

    </main>
{% endblock %}
post-detail.html
https://github.com/mjpark-haezoom/Python-Django---The-Practical-Guide/tree/main/my_site
Python-Django---The-Practical-Guide/my_site at main · mjpark-haezoom/Python-Django---The-Practical-Guide
Contribute to mjpark-haezoom/Python-Django---The-Practical-Guide development by creating an account on GitHub.
github.com
전체 코드는 요기!
정리하느라 힘들었다.. 휴우
'Programming > Django' 카테고리의 다른 글
| [Python Django] The Practical Guide - Data & Models (2) (2) | 2025.07.22 |
|---|---|
| [Python Django] The Practical Guide - Data & Models (4) | 2025.07.22 |
| [Django] 2. URLs & Views 핵심 요약 (0) | 2025.07.20 |
| [Django] 1. 폴더 구조, App 생성, runserver 실행까지 (1) | 2025.07.20 |
| [Python Django - The Practical Guide] Templates & Static Files (2) | 2025.07.18 |
